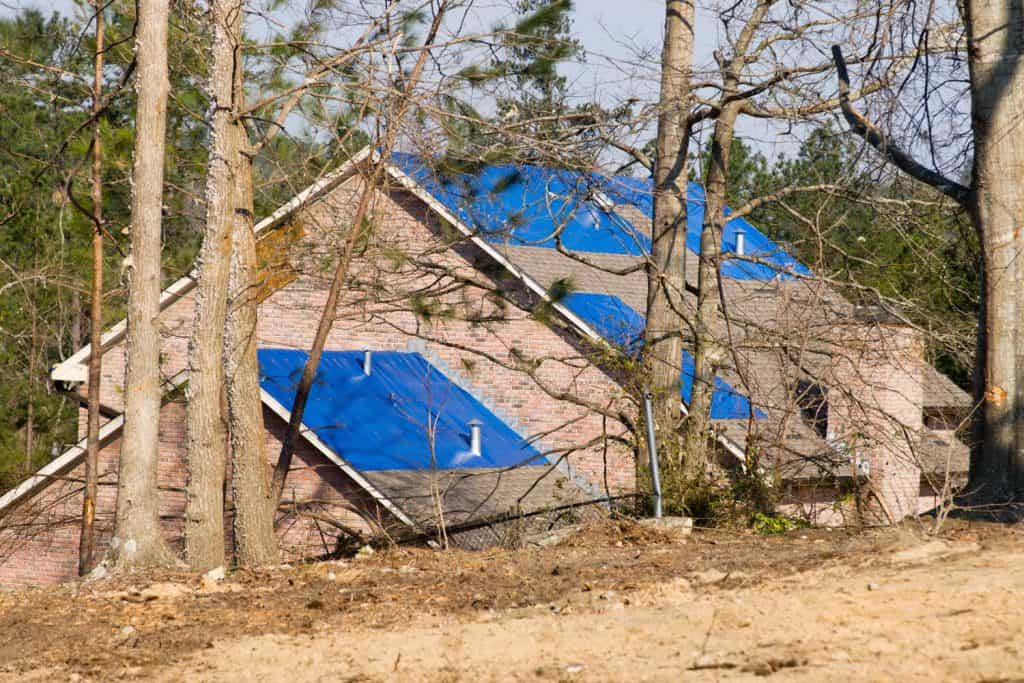
Roof damage is a scenario that most homeowners would prefer to avoid. What should you do if your roof leaks? We'll show you how to tar a roof before or after a storm.

Roof Damage
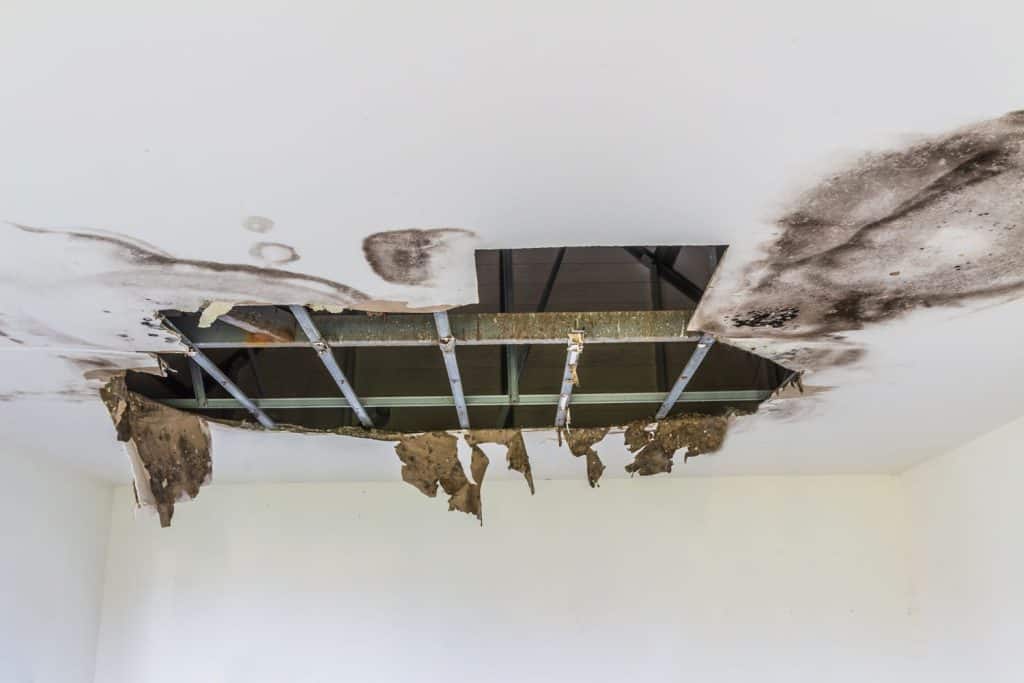
Rain, hail, sleet, or snow can all damage your roof. Roof leaks are only one of the consequences. Roof fractures, punctures, fascia board cracks, and missing shingles can all lead to leaking roofs. Water seeping through damaged regions is dangerous since it allows water to penetrate more easily.
Here are some of the methods to cover up a roof after a storm, as well as some alternatives. You may utilize the same strategies to hide before a storm as you would if you had noticed a weak spot on your roof.
Take photographs of all the damaged regions, both inside and outside, before tarping to ensure there are no disputes after a storm.
Caution
Don't mount on the roof when it's windy or raining. Furthermore, once down, avoid walking on your tarp since the surface might be slick.
Tip
Tarping is a short-term solution to an ongoing roof problem that will be removed after you can get a more permanent roof repair or replacement. If you have a damaged tile or slate roof, get in touch with a professional.
Instructions
Step 1
Remove any dead branches and other debris from the roof to find the damaged region or areas that are causing the leak. Examine your attic's walls and ceiling for damp stains and leaks.
Step 2
If feasible, cover a sizable hole in your roof with a half-inch or thicker piece of plywood. If required, secure it with screws. Water will not pool in the gap after the tarp is in position.
Step 3
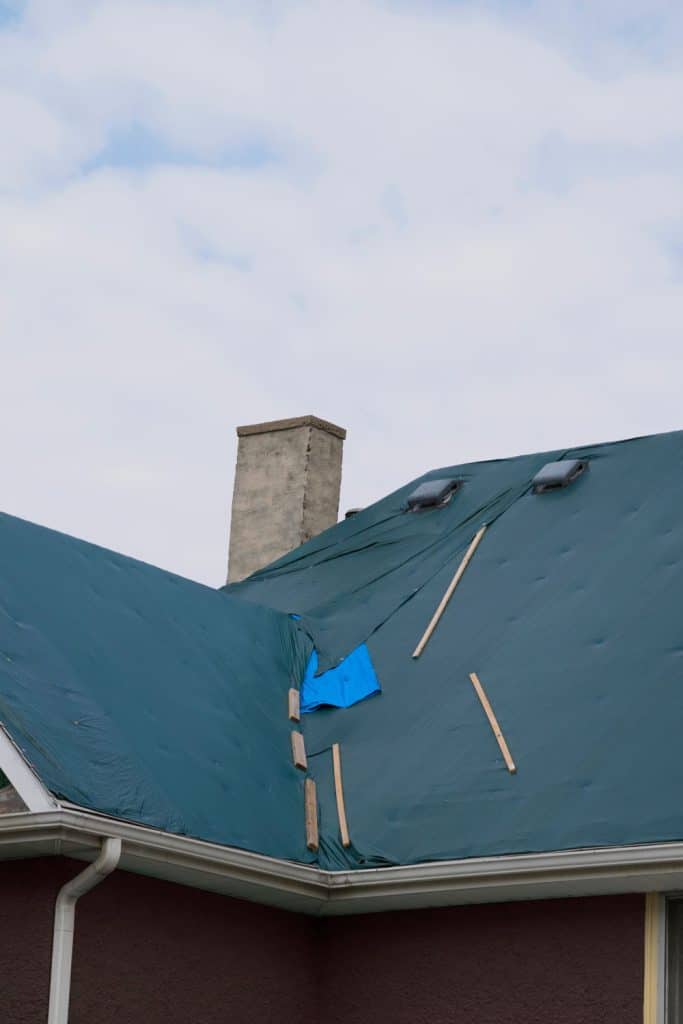
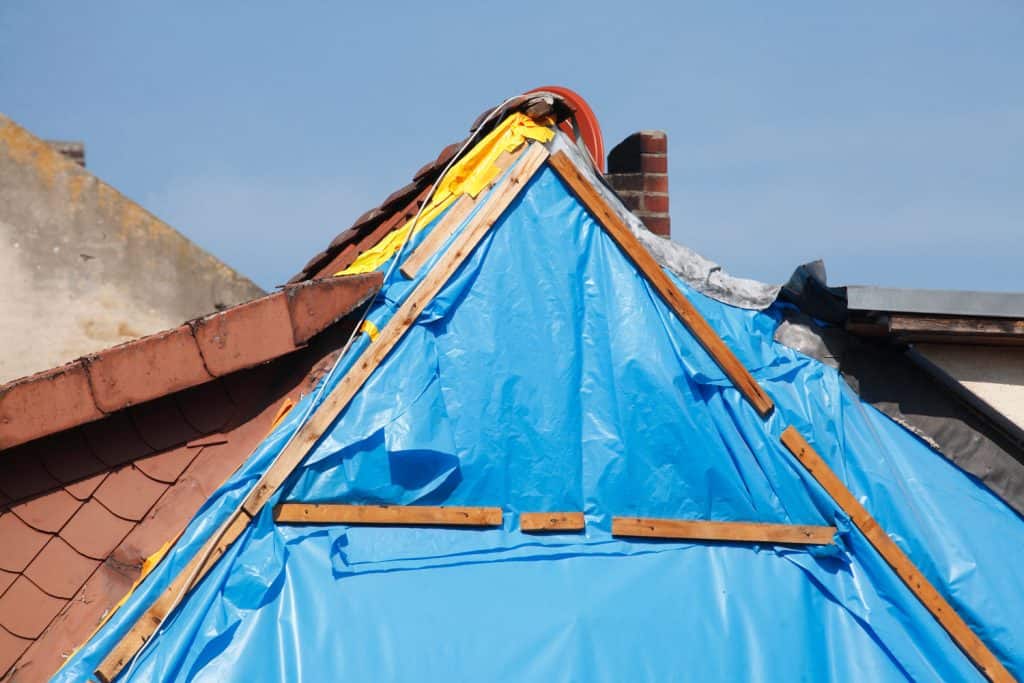
Make sure your tarp is big enough to address any potential issues. On each side of the damaged area, you'll need at least 3 feet more length than normal. A supply of 2-by-4s is also required.
Tip
Unroll the tarp over the damaged area and cover the peak with at least 4 feet. If you don't include the bare ridgeline of the roof in your calculations, water may easily run down and get under the tarp.
Tip
If at all feasible, have someone help you unfold and maintain the tarp.
Step 4
On the peak, nail a 2-by-4 board to the tarp with cap nails. Remember that the height of the 2-by-4 should be twice as long as the width of your tarp. Fold it in half once more and make it a tight, clean fit for storage. Securely attach the 2-by-4 directly into the roof. To make a tight, well-secured water barrier, lay down more 2-by-4s on either side of the tarp and attach them as well.
Step 5
The excess tarp hanging off the eaves on the other side can be trimmed if you like. However, you'll need enough material to secure the tarp to another 2-by-4 and wrap it around the wood. Attach the house's rear to this side by pushing it in and closing any gaps. For a good fit, leave enough slack so that you may connect this side with the home beneath the eave for a snug fit.
Step 6
Take the tarp down and replace any missing boards. To keep the tarp taut and minimize the chance of ripping, use more screws instead of nails to attach them.
How to Perform Ceiling Repairs
Make simple repairs to ceiling cracks, nail pops, and holes as well as remove popcorn ceilings.
Tips
Follow these simple guidelines and watch the video to swiftly repair any type of ceiling damage, from tiny fissures to nail pops, enormous holes, and even removing popcorn ceilings.
Fix Cracks
- Remove any loose paint and drywall.
- Over the fracture, apply mesh tape.
- Using a putty knife, spread the joint compound over the tape and smooth it out.
Repair Nail Pops
- The nail is set onto both sides of the stud.
- Remove the old screw and any damaged material.
- Over the screws, apply joint compound.
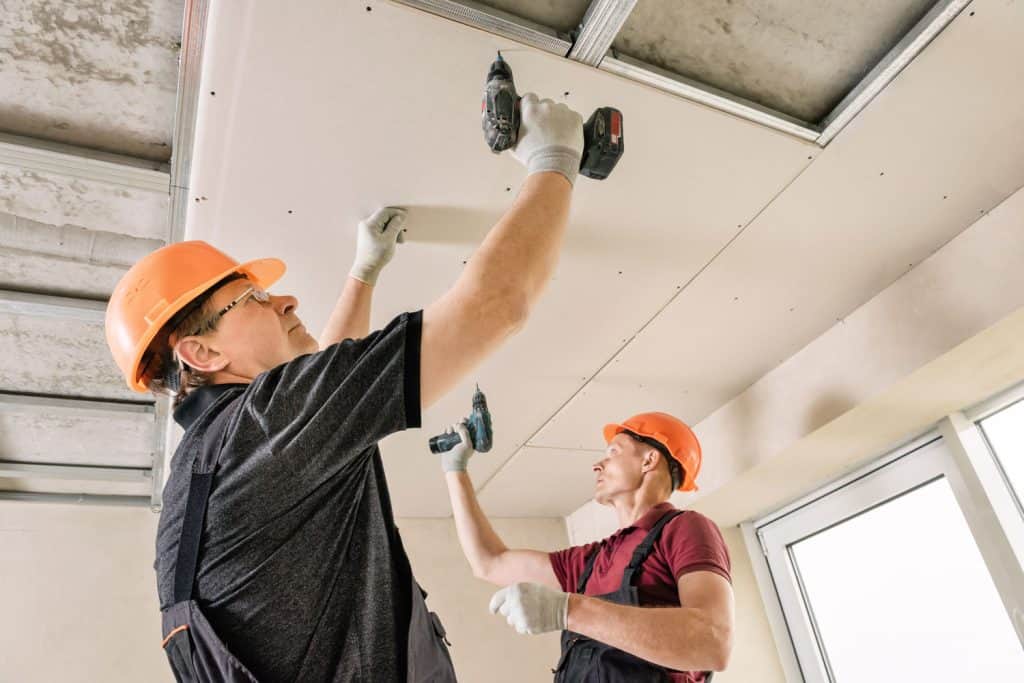
Drywall Ceiling Repair for Large Holes
- Cut a rectangle around the damaged area with a knife.
- Position the pallet on top of the double-duty stepladder, and secure it with wooden cleats on each side for support.
- Attach a patch piece to the cleats.
- Overlap mesh tape on the patch piece and apply the joint compound.
- Apply a second and third coat of the compound to the repairs and then sand until smooth.
- Clean with a damp cloth to remove the dust; prime and paint the ceiling to match.
How to Remove Popcorn Ceiling
Have you ever wanted to remove your popcorn ceiling but didn't know how? It's not as difficult as you would think. Follow these hints from our DIY Basics video: ">How Do I Remove Popcorn Ceiling?
Prep Work
- Removal of a painted popcorn ceiling is difficult. To test whether your ceiling is coated or not, try a small section in the corner.
- Have a depression in the pavement? Use a scraper to remove paint, but not painted texture. The road will be safe and clean after you've finished cleaning it up.
- Remove the paint with a paint stripper, or hire a professional.
- Cover windows, walls, and furniture with plastic sheeting and tape.
- Plastic should be used on the floor and lower portion of the walls.
- Stop the water supply to the room.
Remove the Texture
- Fill a new garden sprayer halfway with plain water.
- Spray a 5-foot section at a time, wait for the water to sink in, and scrape with a large putty knife or trowel after.
- Avoid producing scratches in the ceiling beneath when you hang your drapes.
- To loosen them, spray the difficult areas once more.
Finish the Ceiling
- Wait until the ceiling is completely dry.
- Fill scratches and smooth the joints with joint compound.
- Sand with a drywall sanding pad and finer sandpaper to remove any bumps or ridges.
- To complete, paint the ceiling.
Caution
The ceilings in your home may contain asbestos. Before removing the popcorn ceiling, contact a professional or obtain a small portion for analysis.
Have you ever wanted to get rid of that popcorn ceiling? It's not as difficult as you would believe. Refer to our DIY Basics video for additional information: ">How Do I Remove Popcorn Ceiling?
Prep Work
- The removal of a painted popcorn ceiling is difficult. To determine whether or not your ceiling is painted, try removing a little corner.
- To remove a painted texture, spray the area with water and scrape. The painted surface may not come off easily, but the normal one will.
- To remove the painted texture, use a paint stripper or call a professional.
- Cover the walls and fixtures with plastic sheeting and tape.
- Plastic should be used to cover the floors and the bottom third of the walls.
- Remove the key and close all doors, windows, vents, and lights. Turn off the electricity in the room.
Remove the Texture
- Fill a new garden sprayer with plain water.
- Spray a 5-foot section at a time, allow for the water to soak in, and then scrape with a putty knife or trowel.
- Take care not to scratch the ceiling above while removing light fixtures.
- Then, again, spray the hard-to-reach locations to loosen them.
Finish the Ceiling
- Allow for the drying of the ceiling.
- Fill cracks and scratches with joint compounds to smooth the joints.
- To polish, sand with a drywall sanding pad and finer sandpaper.
- Prime and paint your ceiling to finish.