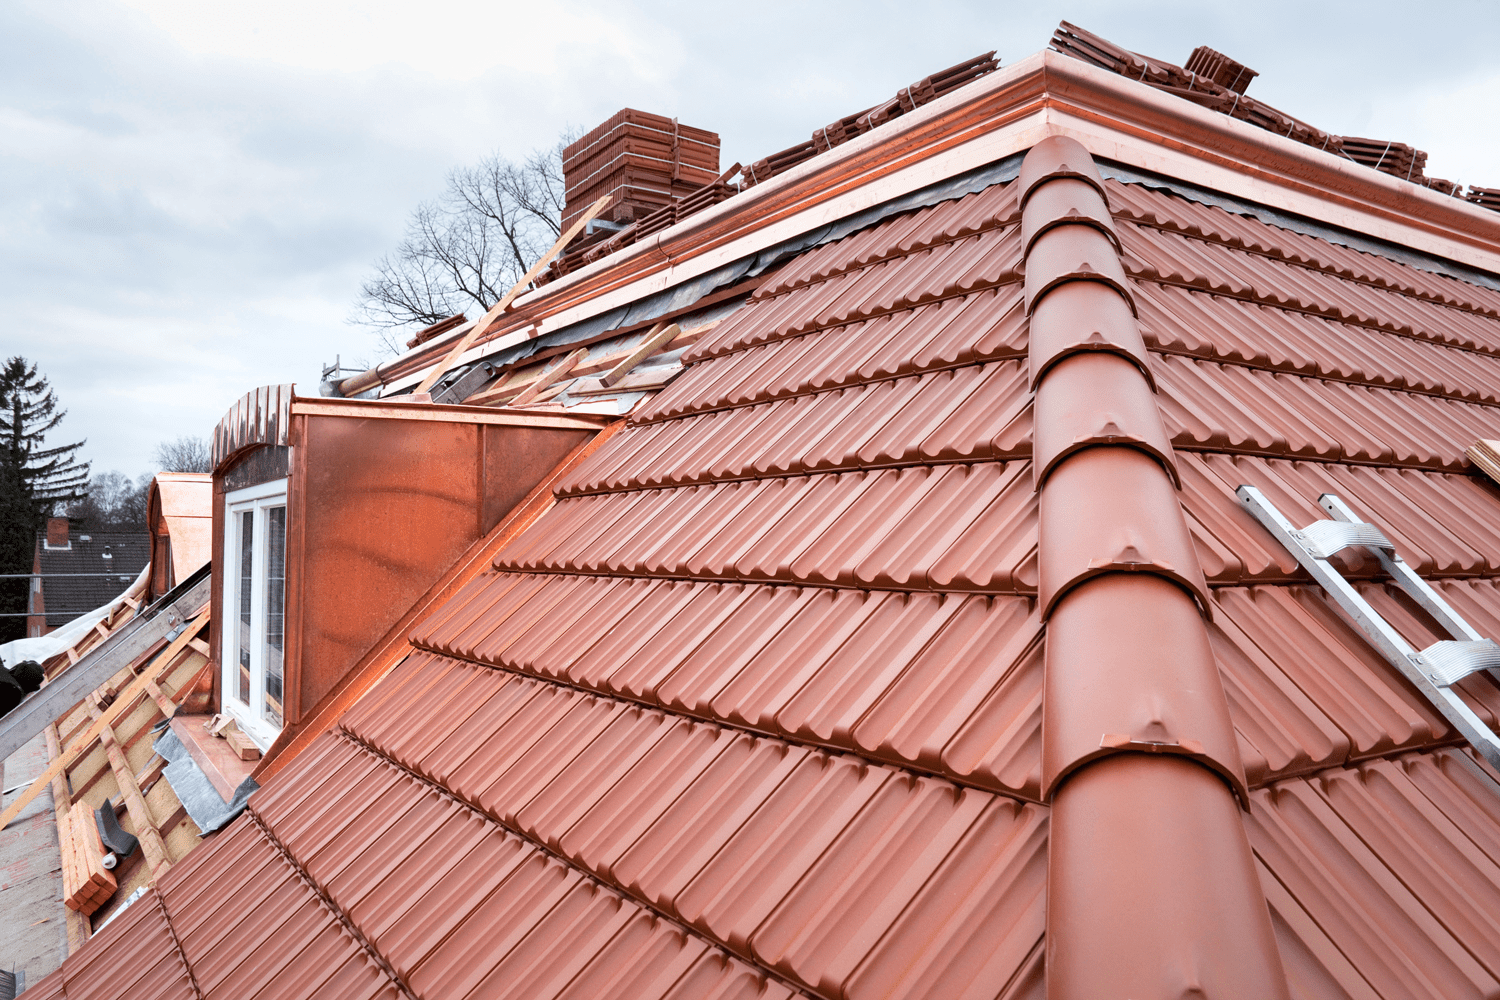
A cricket on the top of a chimney, also known as a "roof cricket," is used to prevent water from pouring in even if insects are present. Cricket is a little roof placed over the top of a chimney to divert runoff water away. Despite the fact that a cricket bat has a lesser impact than other weapons, it is still known as a saddle.
There is no cricket or diverter, so water may accumulate behind the chimney and form a dam as waterfalls from a peak. Water that collects or puddles behind a chimney can cause shingles, metal flashing, and roof decking to deteriorate.

What Is A Roof Cricket?
Cricket is a device that works by flapping water off the top of a chimney. The term "saddle" is used to refer to this style of saddle despite the fact that it has less influence than other types. When there is no cricket or diverter, water can gather behind the chimney and increase in size before cascading to the ground as runoff. When left unexamined, standing water on your roof's shingles, flashing, and deck may cause harm.
Why Do I Need One?
First off, you need one because you want to prevent all those issues related to rainwater damage at your home. The last thing you want is for your expensive winterizing work to be undone by flooding and water damage.
Recommended: How to Stop a Roof From Creaking?
Why Do I Need To Build My Own?
Do not worry if you do not have a roof cricket already in place. It does not make any sense for your home if they are readily available to buy from companies, but this is exactly the case. Roof cricket installation is actually quite easy, with most people being able to do it with minimal experience or training. In fact, it may be easier than painting the outside of your house! Roof crickets can be built yourself very easily by following these simple steps:
Step 1
Cover the roof and side of a chimney without any new roofing or flashing with a waterproof covering if there is no new roofing or flashing on the outside. Remove any existing roof and flashing from an old chimney; it should be treated in the same manner as a new roof. A waterproof covering should be put on the roof and the side of the chimney. In the end, you'll need to apply a metal flashing that has been bent at 90 degrees and positioned one way over the roof and another way toward the chimney.
Step 2
Locate the pitch or slope of the roof behind the chimney. To create a triangle, lay an end of the level on top of the chimney and straighten it, measuring from the roof top level and from the chimney to the roof to determine the height from roof to level.
p = (n/a) + b, where n is the length and a is the height, should be used to calculate the pitch. The roof slope is calculated as the ratio of the length divided by the height.
If you want to measure three feet for each side and three inches for each foot, then your slope will be 3/12, which slopes 3 inches for each foot.
You might also be interested in: Why Does My Roof Creak at Night
Step 3
To produce a ridge beam out of a 2-by-4-inch plank, cut it into a circular saw. With a circular saw, cut vertical supports from a 2-by-4 inch plank if your roof has a half-pitch and an 8:12 pitch.
Galvanized screws and a screw gun are used to attach the brace to the roof frame. Attach each panel with eight screws. Attach two 2-inch-faced screws and two 2-inch-faced screws on either side of the chimney.
Using two screws on one side coming from both sides and another pair of screws on the opposite side, tighten them in an alternating pattern. Before cutting a slope angle onto the roof to match the decking, set another two-by-four on top and level it with a level.
To lay a ridge beam, first set it parallel to the slope line and then cut through along the line.
Step 4
The ridge beam should be secured to the vertical support and the upper roof decking using galvanized screws. The cricket beam and roof should be outlined by drawing a triangle at one of the beam's corners.
There are a number of factors to consider when picking out a cricket roof. The length of the roof, its breadth versus the chimney, and the angle between that line and the top of the cricket beam are all considerations. Cover both surfaces of the triangle with a piece of wood. Make a cardboard template to practice on before attempting this project if you're unfamiliar with roof angles.
Step 5
Attach the plywood triangles to the roof decking and cricket ridge with galvanized screws. Before nailing down the cricket, put a waterproof covering on the edges and sides.
Make sure the cricket's seams and roof are all covered with metal flashing. Add extra counterflashing to the slanted sides and chimney, too. 24 base flashings and counterflashing are necessary.
All base flashings, as seen above, are draped with a metal strip attached to the masonry. The counterflashing may be kept in place by nipping the sloping notches in the chimney with a masonry saw.
Step 6
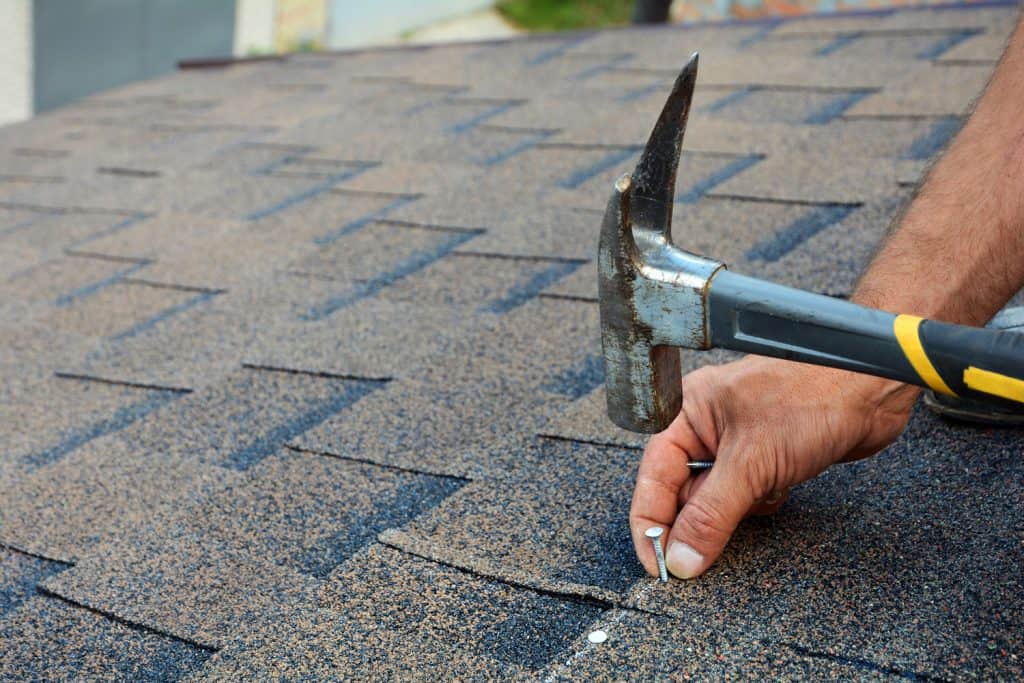
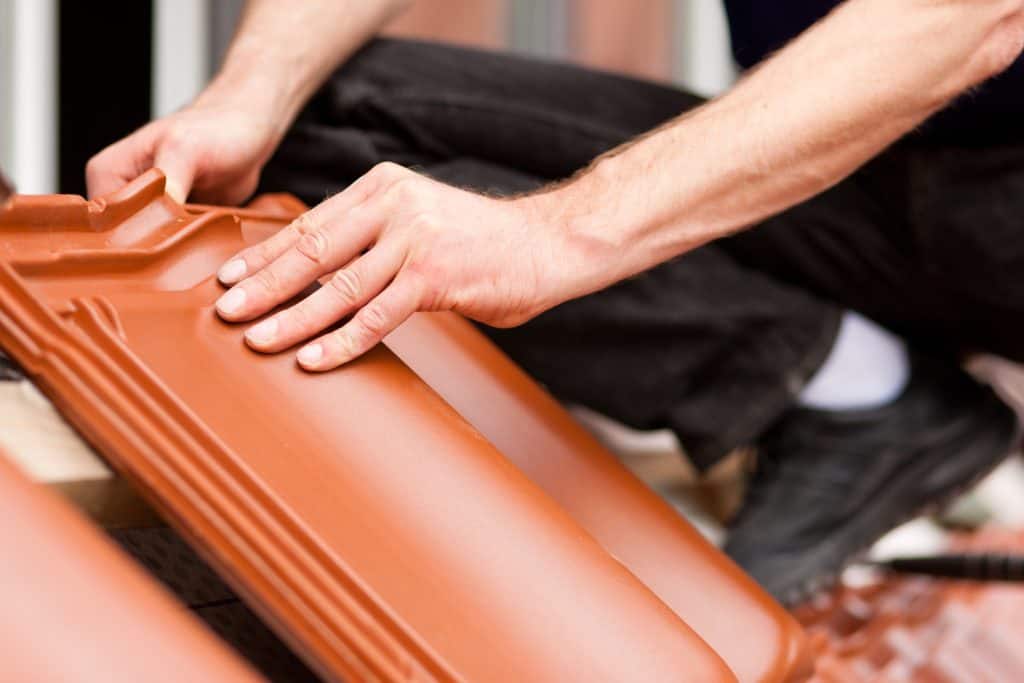
With a hammer and nail, nail the cricket shut. The cricket is shingled on both sides four times. Before nailing cricket tiles on an existing roof, cover the peaks and seams with shingles; install crickets first and then remove old tile tabs before installing cricket tiles.
Building a cricket on the roof requires only modest carpentry skills. It's an excellent project for someone who wants to learn more about roofs, as well as build some expertise in the process. You should be able to construct a sturdy cricket without difficulty if you follow the steps we've outlined. If you have any queries or encounter difficulties, please leave them below!