Do you have no clue how to paint a roof? You've come to the correct place. It's simple to get a professional inspection; all you need are some basic supplies and knowledge of how to do it. Everyone should be able on their own. Continue reading to learn more.
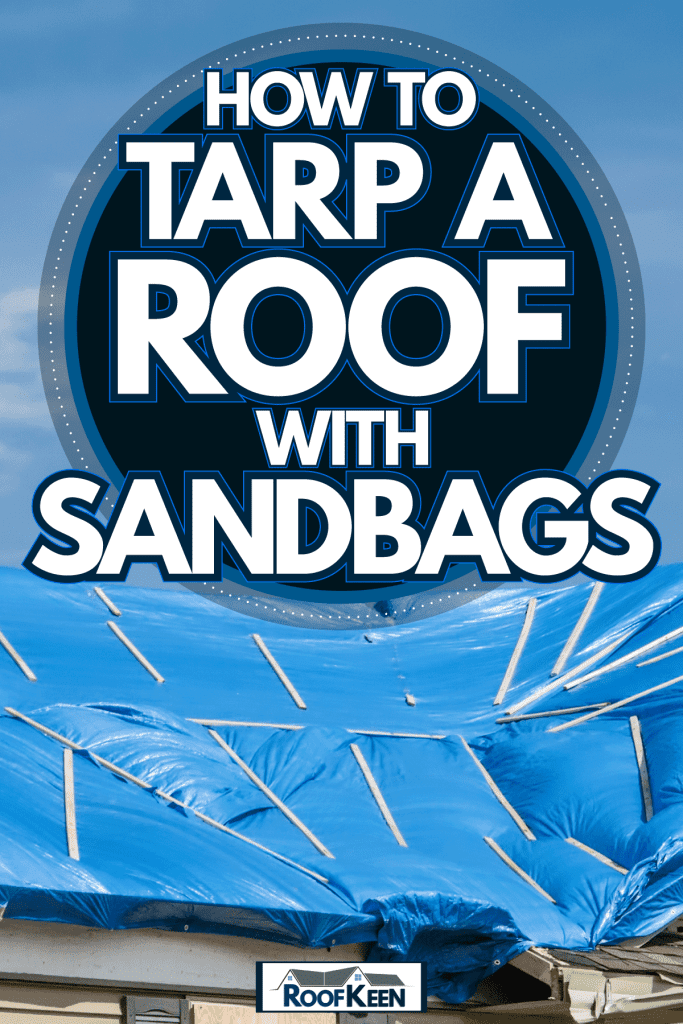
How to Tarp a Roof With Damage
Roof damage or water damage may have occurred as a result of a storm. Perhaps you've noticed any leaks in your roof. Even if you don't detect a leak, your roof must be covered to keep adding water and debris from entering the damaged sections of your roof.
A huge, waterproof tarp is used to protect the roof. Roof covering costs from $200 and $500 if done by a professional.
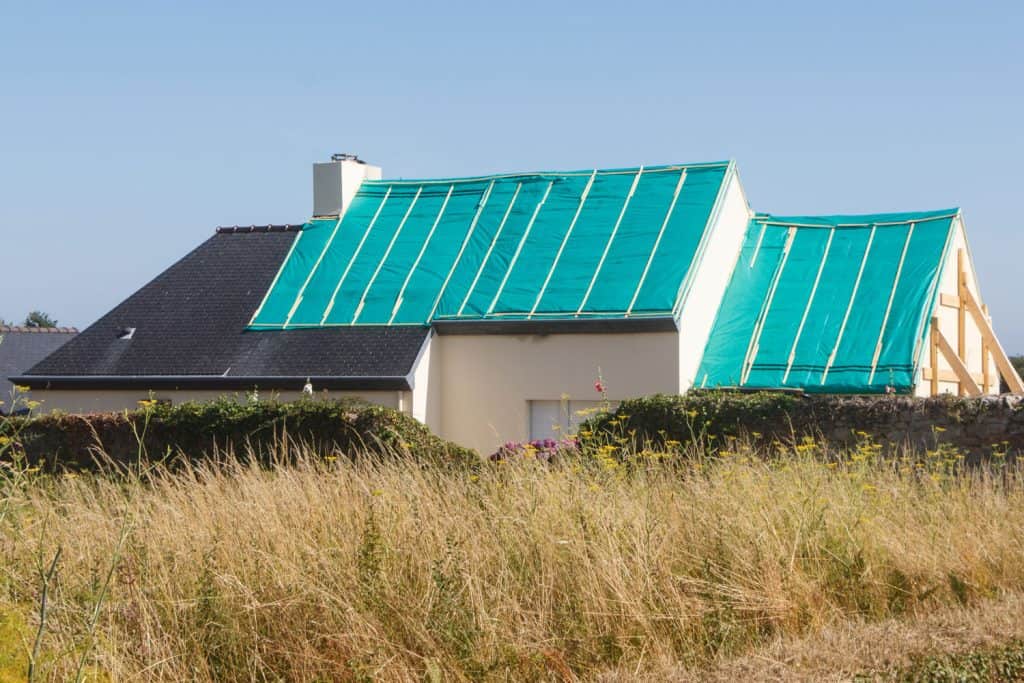
However, it is possible to accomplish so with little planning and concentration. After all, you must ensure it is guarded until permanent repairs can be done. Tarring a roof may help you save money in the long run. It's also quite simple to accomplish. Simply follow the guidelines listed below to get started.
Choose the Right Tarp
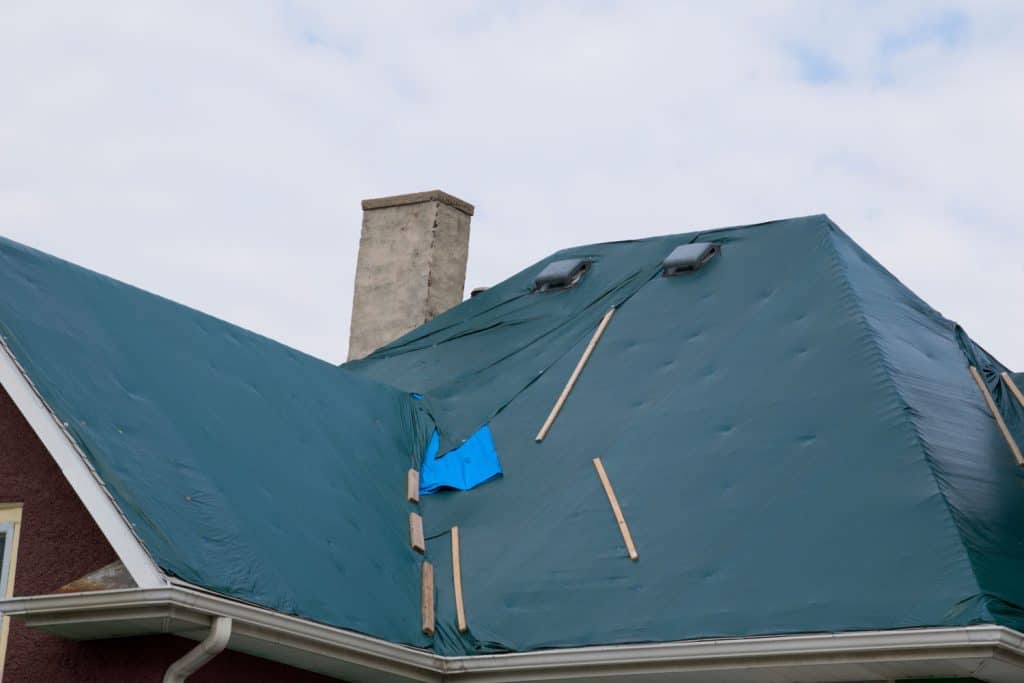
Choose a big tarp that will cover the damaged area as well as an overhang. Heavy-duty woven poly tarps are one of the most popular roof repair tools. Double-layered tarping is also effective.
Look for tarps that will cover the entire area you need to shelter. The dimensions of the tarp should be based on the number of persons to be covered. The most popular size is 12'x16' or 20'x30'. Decide how big you want your tarp to be. The goal is to use a few tarps.
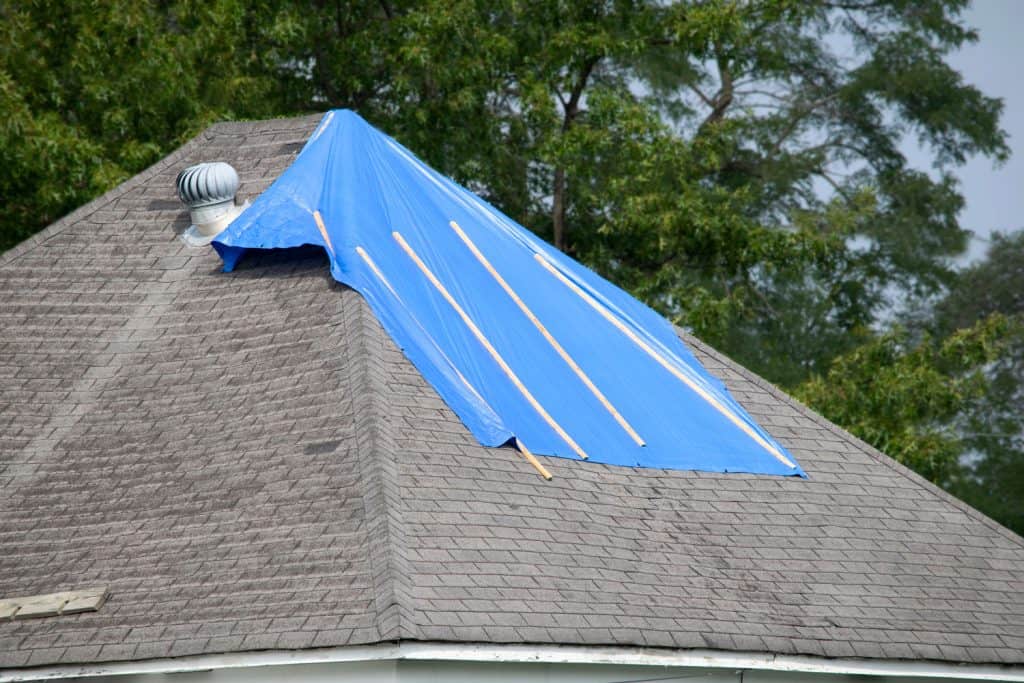
More tarps result in more edges, which means there's a higher risk of water seeping in. The tarp must be placed directly over the damaged section of your roof and the peak.
On all sides, there should be enough overlap. This is simple when the damage or leaking region is obvious, but it may be more difficult for tiny regions.
You might be interested: How To Tarp A Roof
Find the Leak or Damage
There are a few methods for locating the source of a leak:
- Check your attic – Check your attic carefully for dripping water and you may be able to detect where the water is flowing through your roof.
- Hire a professional – Using FLIR cameras, a roof or house inspector may capture images of your home. Leak detectors employ infrared light to locate temperature variances. They may instantly identify leaks and locations where water accumulates due to their ability to detect these changes.
- Closely inspect the roof – If you're tarping the roof yourself, check it for issues from head-to-toe. Although it's difficult to detect problems from the top of a roof, most difficulties aren't immediately obvious.
If you've already determined the source of the problem or leaks, things will go a lot smoother for you. If you're not sure where the damages are, it's better to be on the cautious side and cover more of your roof than you think is required.
Remember to leave plenty of overlap on the peak after you've patched it to prevent water from entering the damaged region.
Recommended: How To Tarp A Roof Without Boards
Installing a Tarp on a Roof
It's time to put up the roof tarp once the storm damage has been dealt with (or at the very least covered).
You Will Need:
- Hammer
- Wood planks (Five 2x4s)
- Screw gun
- Utility knife
- Ladder
- Gloves
- Safety goggles
- Heavy-duty woven poly or double-layered tarp(s)
- Screws (3.5″)
- Cap's nails
1. Stabilize Your Ladder
Make sure the ladder won't move against the home by attaching it to it firmly. If the ladder falls or appears insecure, have someone on the ground at all times. Bring your tools and materials with you up to the roof. Put on your gloves and safety glasses before going up there!
2. Unroll and Position the Tarp
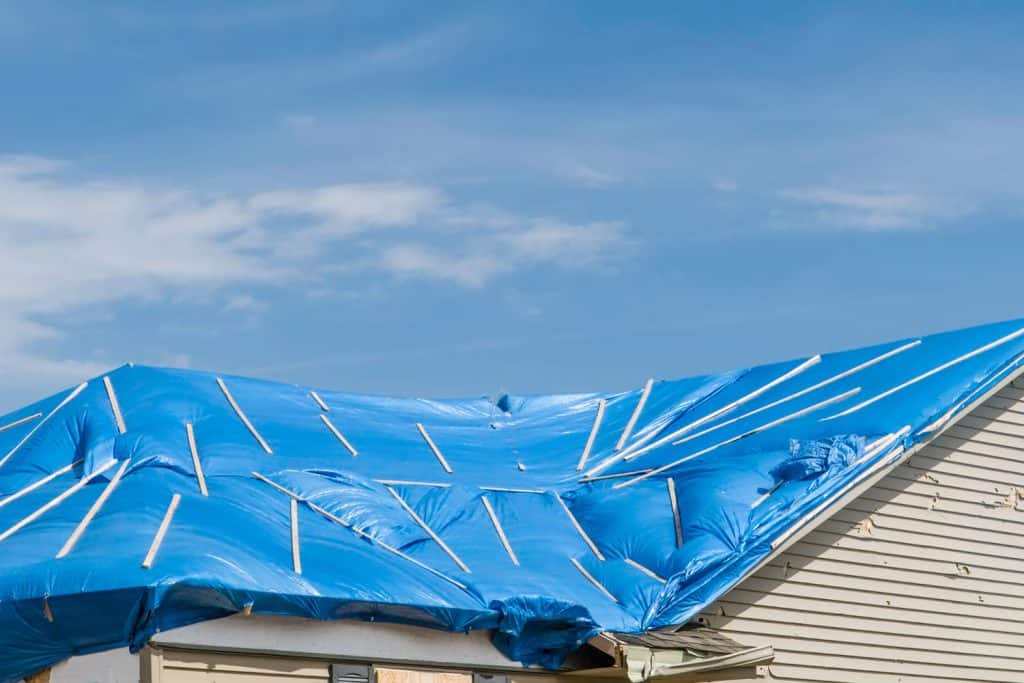
Begin to lift the tarp and unroll it over the damaged area. Make sure there are enough tarps (at least 3-4 feet) that extend out beyond the roof peak and drapes over the eaves.
3. Make Anchor Boards
You'll need to build an anchor board, which will serve as a sort of roof backing for the tarp. Attach the top (peak) end of the tarp to a 2×4 with a few cap nails.
Once it's been attached with cap nails, wrap the tarp around the board by "rolling" the board towards the rest of the tarp.
4. Secure Anchor Boards
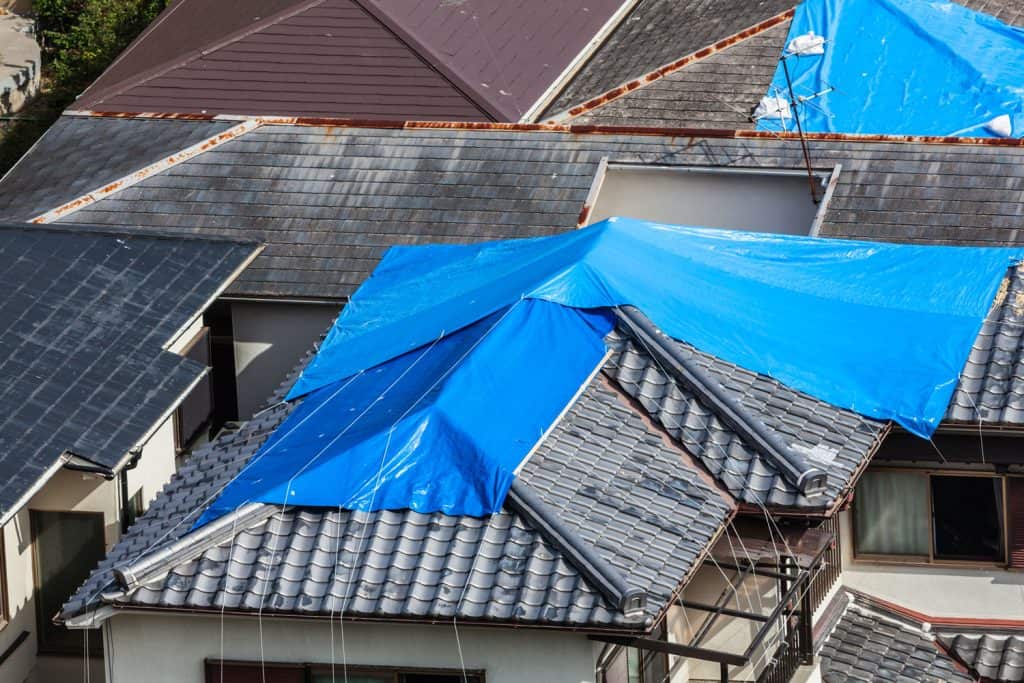
Place the board on the peak side opposite the damaged side with a screw gun, and attach it to the soffit or roof deck on that side. Tearing and ripping will be prevented by adding another 2x4 over this one to prevent your tarp from tearing. Do these procedures for the other end of the tarp, opposite the roof peak.
5. Secure the Sides
When you've finished, both ends of the tarp will be secured with boards. To keep water out, position the tarp as close to the peak as possible.
If you want to eliminate any new leaks, install the tarp directly into the rafters. There are alternatives if you don't want to screw the tarp to the house.
Sandbags may be used to secure the tarp instead of anchor boards and screws, but they won't be as sturdy or waterproof. If you tack down one end and don't the other, trim it off with your utility knife or add another anchor board under an eave.
In conclusion
In conclusion, sandbags are a great place to start when tarping your roof. They can be used in conjunction with other materials like tarps or plastic sheeting, but they also work well on their own. Sandbags provide protection for the home and property below it during heavy rainstorms by absorbing moisture that would otherwise seep into the house through cracks in the foundation of the home. When purchasing sandbags for this purpose make sure you get ones made specifically for water damage repair which will help stop leaks from getting worse over time.
You can even bag sand yourself using lawn and leaf bags, but make sure they are quality plastic so they won't leak. Sandbags will provide great protection for your roof, just be sure to put them all the way up under the roofline where rainwater would normally enter.
Finally, remember that sandbags can also be used as part of an overall roof tarping system, just remember that they are not as effective on their own.
What about on a shingles roof?