Maintenance & Repairs, Metal Roofing Installation
TIN SNIPS AND AVIATION SNIPS
Power tools are undoubtedly a lot of fun to use. They allow you to complete any job quickly, which is something that everyone likes. Let's be honest: power tools are fantastic for doing things fast. However, they're also a significant money loser and, in most cases, are useless. Metal panel cutting, in our opinion, is a difficult task. If you were doing this work full-time, you'd have a variety of power tools to help you get the job done quickly and effectively. However, most do-it-yourselfers simply want to use basic equipment rather than invest inexpensive tools that will only be used for one purpose.
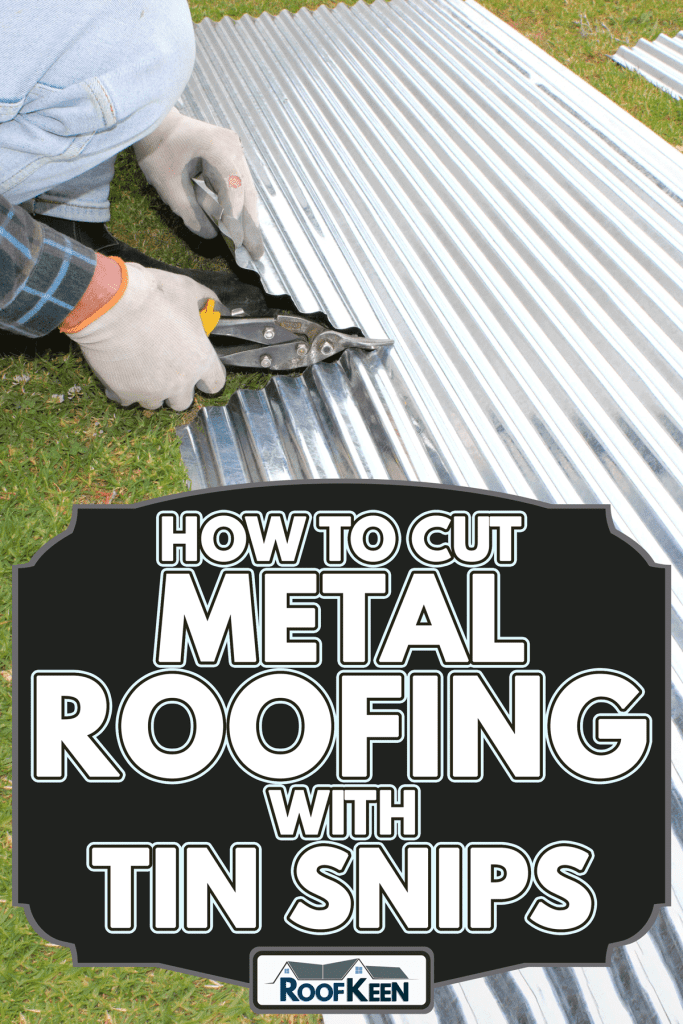
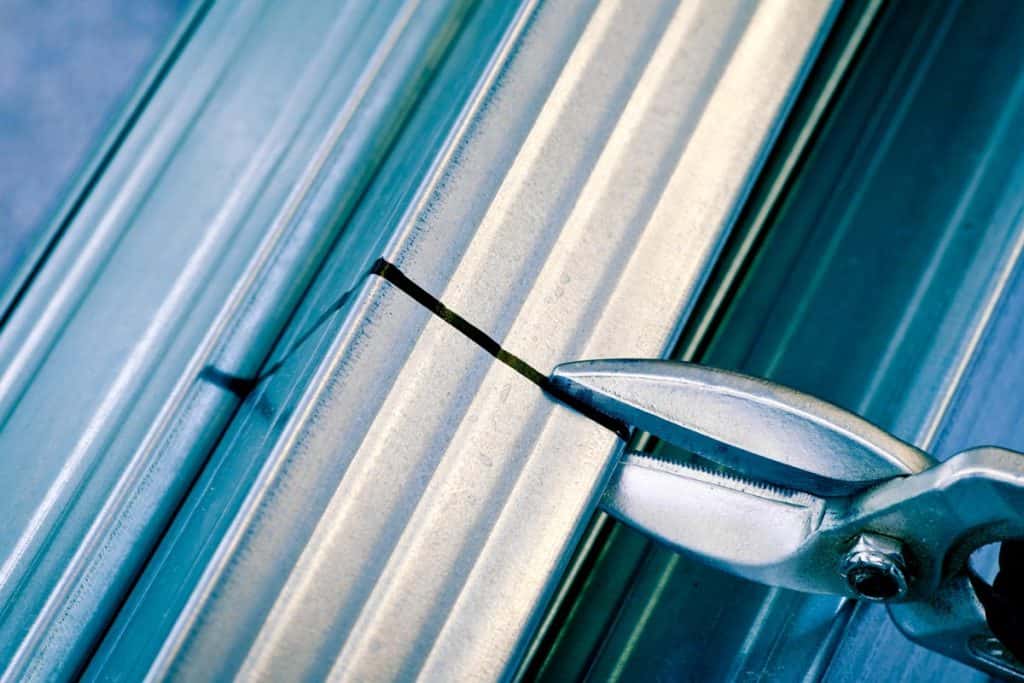
While putting your new metal roofing on, a pair of tin snips will come in useful. Our DIY customers find them to be quite beneficial. Cylinders are typically made of brass, though other metals may also be used. They can easily pierce through 26 or 29 gauge metal panels, and they might even cut through heavier materials. There IS, however, a PROPER way to do it!
Before you get started cutting into your new metal roof panels, take a look at this article and watch the training films. It will make the job much simpler for you!
What Are Tin Snips, and How Do They Work?
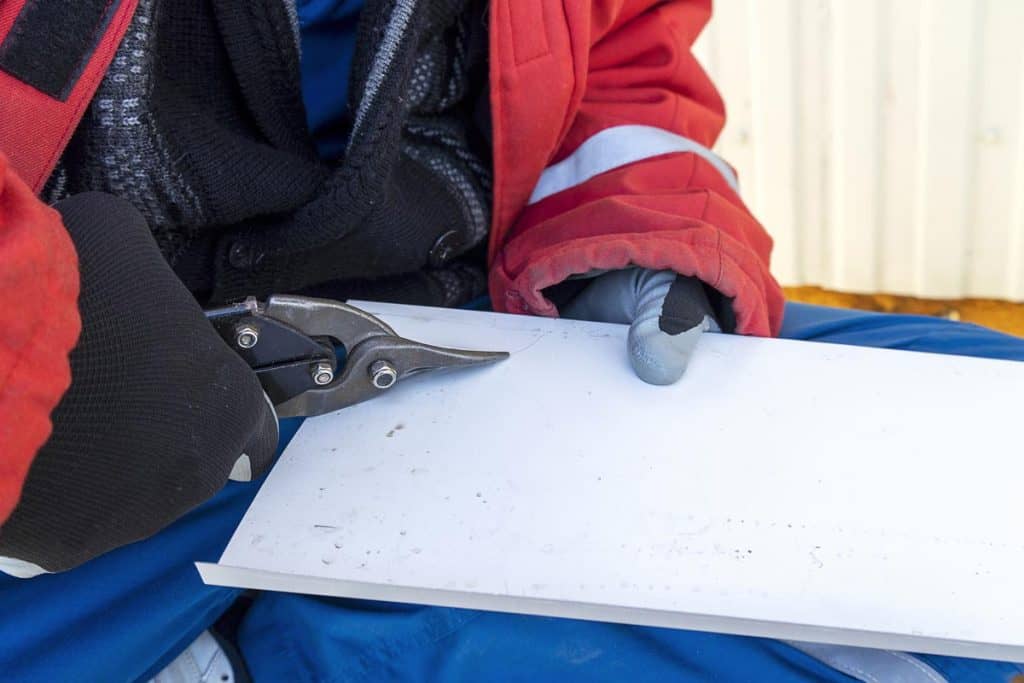
Snips for cutting metal panels are also known as tin snips. They resemble gardening shears, but they're used to cut aluminum, steel, tin, and even vinyl siding in a variety of gauges. There are several distinct types of tin snips, such as "aviation snips," which are used in aircraft and other aircraft manufacturing.
You get what you pay for, and if you want your tin snips to last, get hardened steel so the blades can cut through hard materials.
Tin Snips, Aviation Snips, and Compound Snips
A single pivot is used to trim tin with Snips. They're effective, hardworking individuals who accomplish their tasks, however, you'll need to put out more effort. They have wide handles that are ideal for gloves and look like a big pair of safety scissors. Because of their single pivot and simpler construction, they can last a long time if properly maintained. The pike is equipped with two distinct blade kinds: a normal blade and a duckbill.
- The duckbill-bladed tin snip is fantastic for cutting tight curves, but the blade's tapered design makes it less capable of chopping thicker gauges.
- A standard blade or a straight pattern blade is best for long, straight cuts.
The double-pivot is utilized in these sips, which are spring-loaded and feature a safety catch. For the duration of a long shift, the twin-pivot with spring-loading is easier to use. The calibration of the snips is determined by their gauge, so double-check before buying. Single-use snips are generally available in sets of three, with each one suited to a different cutting goal.
Compound snips are snips with a higher level. They're ideal for heavier-gauge metals, such as ducts and seams, since they provide more leverage.
Snips with aviation handles are available. They're meant to cut 18-gauge cold-rolled or 23-gauge stainless steel.
Color-Coding on Aviation Snips
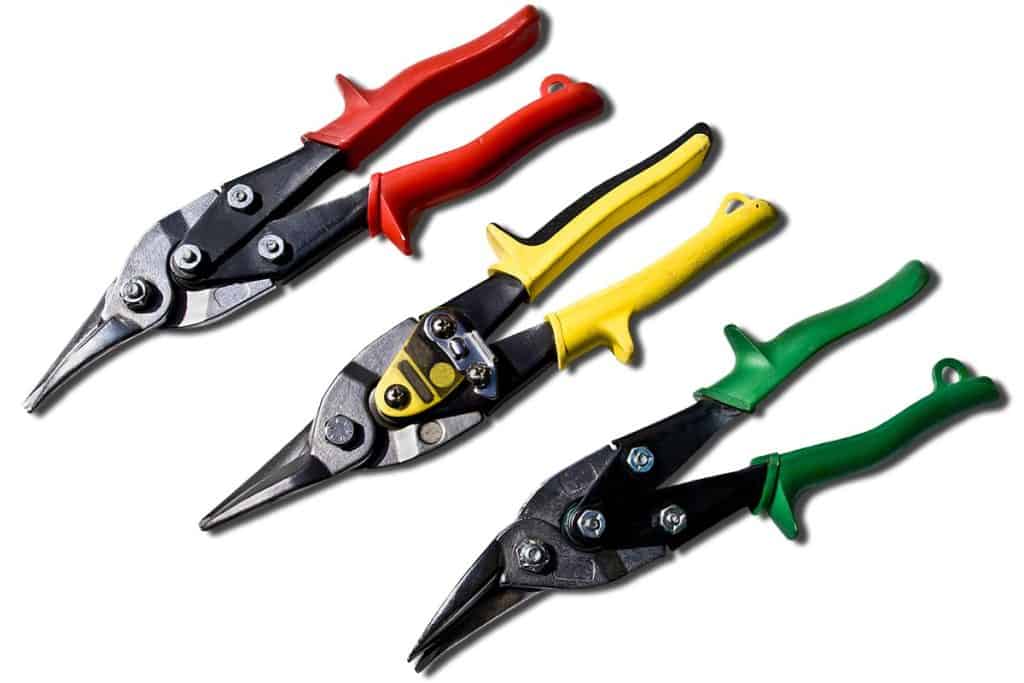
Working in zero-g is made easier with color-coded aviation snips. They include red, yellow, and green handles or a combination of those hues on the handles, as well as white snips. It's important to understand the meanings of colors and which one to choose for each task. They are ambidextrous, which means they're meant for both right- and left-handed individuals, but each one only works in the direction that the blade swings because this is how the blade swishes.
That's not exactly what color-coding is for; it's for the cut's orientation... in reality, it's all about where the off-cut goes! It's all about which "side" (scrap) the offcut will go, not necessarily which "side" it comes from.
- Yellow: The most common type of snip is the red or green snip, which is used for longer, straight cuts. However, this isn't ideal for wider cuts because sawing with a snip will create more distortion than using a red or green snip. Use sharp, thin yellow snips rather than dull ones when cutting notches. They can also perform wide curves. (These individuals will have your new purchases packed and ready in no time if plastic clamshell packaging on new purchases drives you crazy.)
- Green: Ideal for cutting ducts, as well as straight and clockwise cuts, for right-handed individuals. Green is the best color to use when making vertical incisions to the left. The offcut (scrap) will be on the right side of the cut.
- Red: Left/counter-clockwise cutting is best achieved with these blades because they are sharp and able to cut straight. Green and red are both excellent for creating left-leaning cuts. When the cut is finished, the off piece will be on the left side.
However, with red and green snips, the jaw's (the bowed-out wider section of the scissors on the bottom) whichever side, it should be set at a 45-degree angle. The snip should be positioned on the side where the off-cut metal curls up as you cut; this is known as "curling". A saw's metal trim makes a huge difference in how flat it stays after cutting. Always cut the jaw so that the off-cut or waste side of the material is facing away from you. Always!
A white handle or a narrow white line might indicate the use of a seam or crimping tool.
Left-Handed vs Right-Handed Aviation Snips
Some people believe that the color red or green indicates which snips are appropriate for right- or left-handed people. It's not so!
The small snips are also convenient for clipping straight edges and trimming tiny areas of fabric. They may be used right-side-up or upside-down, so you can clip curved shapes from one side of the cloth and straight lines on the other.
It's not always easy to figure out what works best for you, but stick with it and after a while, you'll figure it out. Begin with minor components; it will assist you in becoming more acquainted. If you're a righty, green snips may be beneficial for many cuts. You may make the same cut using red snips
As an exercise to demonstrate this either-way capacity with tin snips, make a handful of practice curve cuts on the green snips, as shown in the picture. Make a little cusp from the edge of a scrap paper cut. When trimming, maintain the snips parallel to the natural curve of the scissors. Flip the same pair of snips in your hand to make a curved cut from the opposite corner. On both corners, you should have mirror-image slices. This is the appeal of aviation snips, which are essentially a two-in-one tool. What's the difference between a red and green plastic weaver's knife? You don't need one, but it's useful for keeping track of off-cuts and waste cuts throughout projects.
What's the Difference Between Straight Tin Snips and Offset Snips?
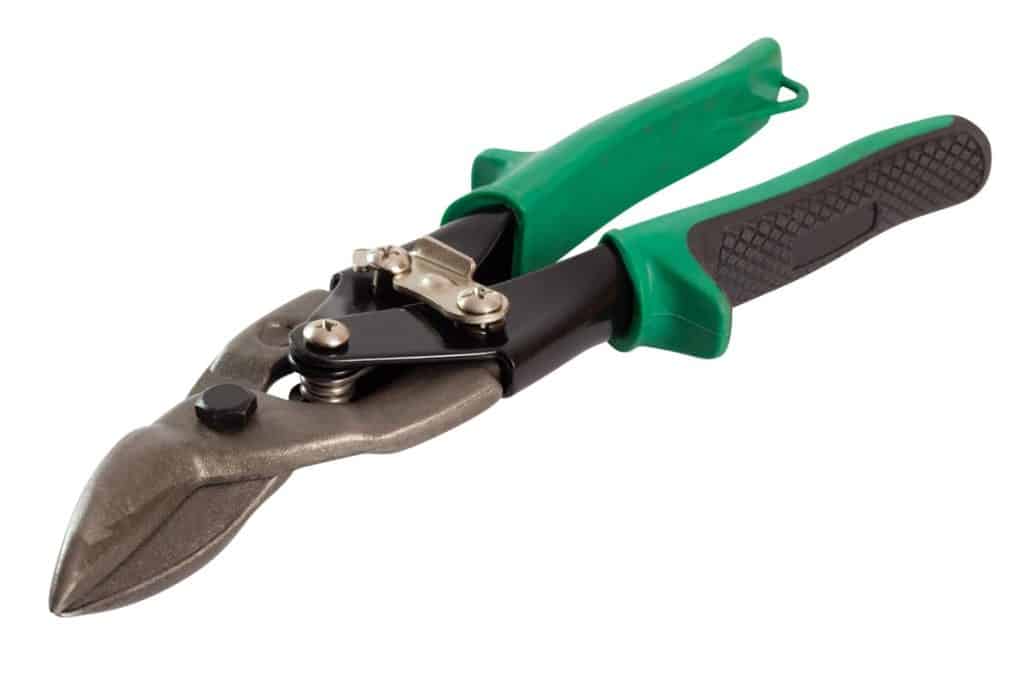
Straight tin snips may cut curves, but having offset snips nearby is beneficial since the offset handle allows your hands to be higher than the cut, not in line with it, making it simpler to make long straight cuts. The third advantage of an industrial workbench is that it is lighter and easier to put up. This is owing, in part, to the lack of metal components or fasteners for the base.
The tiny blades of yellow straight snips are ideal for cutting more acute curves. A 90-degree offset handle might be useful for tight places or when you need to cut upside-down.
Snips are the solution if you're searching for a method to keep your food fresh without using chemicals. It'll be worth it when your metal isn't caught or deformed due to a low-quality purchase.
In an ideal world, you'd have a kit that includes red, yellow, and green aviation snips, as well as a compound snip and an offset snip. You'll be prepared for almost any cutting scenario that comes your way.
Serrated Blades vs. Smooth Blades on Tin Snips
A serrated blade may prove useful for gripping metal or, in certain circumstances, preventing it from slipping while cutting a few metal hemlines. They can also cut through thicker materials more easily.
The tiny ridges, on the other hand, could cause natural metals like aluminum, copper, and zinc to deteriorate over time. Natural metals should be avoided if you're using serration. If you're not sure about the blade for your project, get in touch with our customer care team.
The Most Essential Metal-Snipping Hints and Tricks
Turn it back over
When working with metal, If the blades descend straight down and the metal enters smoothly, it will be an effective cut. Off-set snips are no exception; it doesn't matter which way the handles point, as long as the blades are perpendicular to the cut and catch in the metal... and maybe your snips.
Consistency matters
The spring-loading makes cutting simpler, but it also causes problems with tin snips. When you make identical, consistent cuts, the lines will get smoother and straighter (or properly curved) over time. A sharp blade is also required. If you're straining to cut, it'll leave chunks or curves in the metal that aren't wanted.
Shorter cuts are better.
When treating the nasal area, use these guidelines: make little, frequent incisions instead of big cuts. Snips are designed to cut only a little less than 1/4" of material at a time. The result of precisely rolling up an offcut on a table saw is shown here. As a consequence, the final cut edge is superior in quality. The thicker parts are more likely to have an uneven edge. The full length of the blade might create a dimpling effect.
Use the sharpest cut possible.
Don't be scared to wear a range of shoes during a cutting project; switching between red and green cuts may make removing an entire strip much simpler than doing a big cut. This is an excellent video to study for some technique ideas.