Roof cleaning is expensive. Roof maintenance may be a pain if you don't want to spend too much money on it. Temporary solutions, such as calcium chloride and raking your roof month after month, are difficult work. So, can you put ice and a water protector on the entire roof?
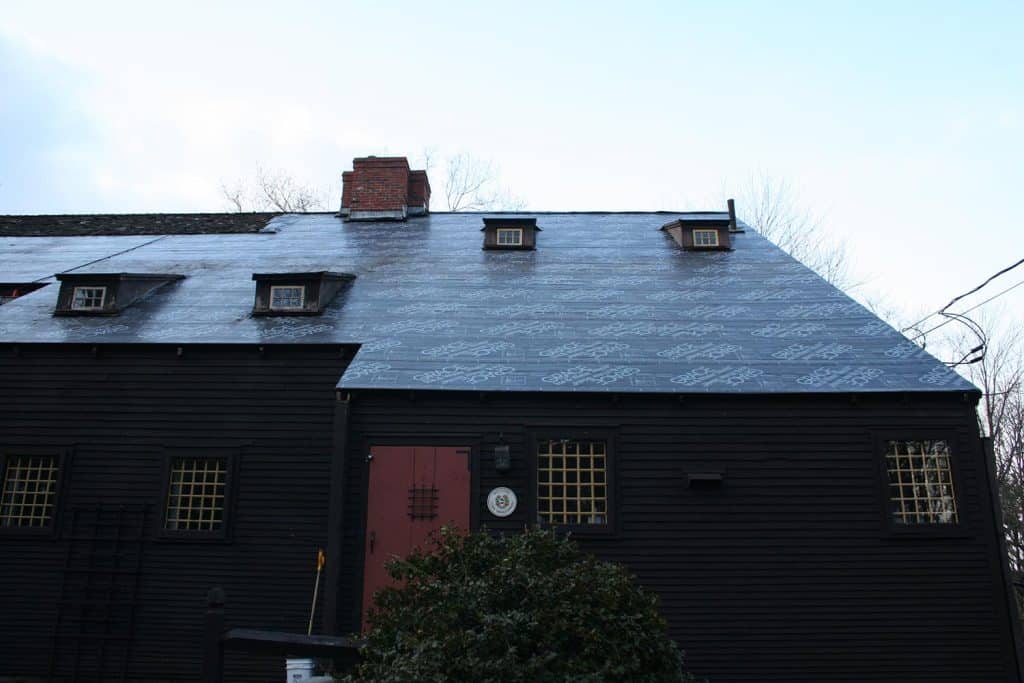
To prevent further damage, install the ice and water shield roofing underlayment.
You may also save money by purchasing calcium chloride in bulk. You won't have to rake your entire roof so often, and you'll avoid spending lots of money on calcium chloride.
This article about ice and water shields can help fix that problem.
Can you put ice and water protector on the entire roof?
Yes, you can! A self-adhesive waterproofing roof underlayment with an ice and water shield is used beneath awnings to prevent the formation of ice inside. It also has a modified bitumen (slip-resistant) barrier surrounding the shingles and roof nail penetrations for a waterproof seal.

What Does an Ice and Water Shield Do? How Does It Protect My House?
Without an ice and water shield, your roof is vulnerable to two dangers: ice dams and wind-driven rain.
Ice Dams

Ice dams can form much more quickly in colder areas, especially if there isn't enough snow to insulate the roof. Ice dams develop due to the continuing melting and freezing of snow caused by heat escaping from your property.
When the snow melts, the water drains until it reaches the underside or soffit region of your roof. Once this melted water freezes, it forms an ice dam. Ice dams can harm your roofing structure and walls if you don't use the appropriate roofing underlayment.
Installing an ice and water shield allows you to safely drain the water off your roof, reducing the risk of harm. Water shield roofing underlayment can help prevent water problems and ice dams.
Wind-driven Rain
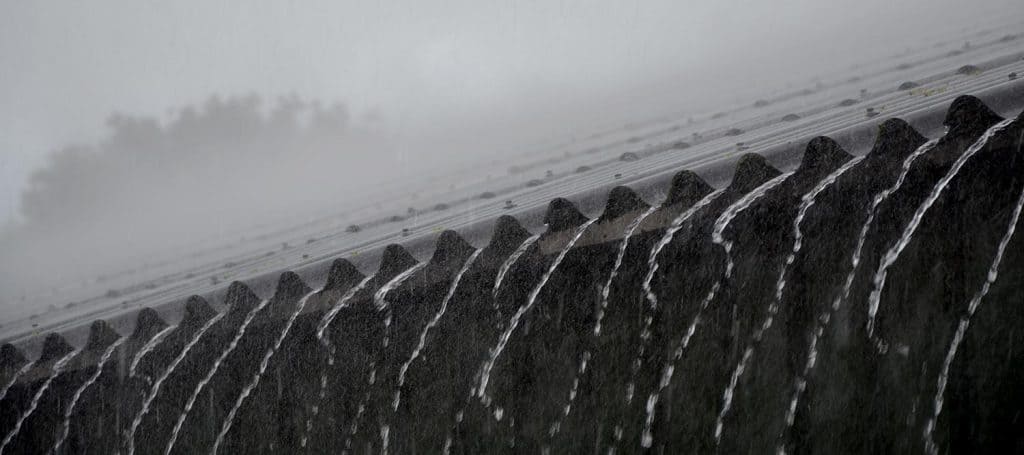
A wind-driven rainstorm can lead to ice dams and even enhance their occurrence. Wind-driven rain is often the result of a severe storm, such as a hurricane. The wind may push water beneath your roofing shingles and develop an ice dam. It's impossible to completely prevent a water leak when you have an ice and water shield, but it considerably reduces the likelihood of one.
Finally, it's worth noting that most homeowners' insurance claims aren't for wind-driven rain. As a result, having an ice and water shield in place to decrease long-term expenditures is critical.
How Does It Protect Your House
An ice shield, sometimes known as an ice shield, is a rubberized membrane that clings to and adheres to your roof deck. An ice and water shield sticks to the roof sheathing, providing waterproofing, and protecting your roof much more effectively due to its self-adhesive feature. Because the rubberized membrane on the ice and water protector has a gasket effect on the nail shaft when your nails go through it.
However, not all ice shields are created equal. Grace Ice and Water Shield is one firm that sells a similar product. When putting ice and water protectors, one thing to bear in mind is the temperature and sunshine.
When the product is exposed to temperatures higher than 60°F with direct sunlight, it becomes extremely sticky. This stickiness is comparable to what you'd find in contact cement, and once it comes into contact with or sticks to a surface, it doesn't come off.
Things you need to follow when installing an ice and water shield
- Apply the ice and water protector before installing the roof felt and underlayment. It should also be applied beneath any metal roof flashing, especially those that run alongside your home's peak.
- Before installing your drip edge, ensure that the ice and water protector adheres on the eaves of your roof and down to the roof deck It seals off all potential entry points for water.
- However, you may apply ice and water protection to the entire roof if you wish. Although this is feasible, it is not necessary. Instead, put it on essential parts of your roof before going ahead to cover the rest.
- Install your ice and water protector at least 3 feet from the edge of your roof. 6 feet is a reasonable distance to aim for, but if you have a low slope roof, you'll most likely need to cover more space.
- It's not recommended to install it above your existing shingles. It's commonly advised to put it in your roof sheathing beneath your felt paper and shingles.
FAQ
How Much of Ice and Water Shield Do I Need Put on My Roof?
Consider how big a surface you'll need to cover with the product. One protector is generally 3 feet wide on average.
Next, figure out how much length you'll need to cover. A good starting point is 3 feet. This, again, will be determined by your region and the roof slope.
In colder areas, a greater ice dam prevention grade is necessary than in warmer places. A reasonable rule of thumb is to anticipate the greatest level of ice dam formation.
Finally, contact your roofing professional or your state's building code requirements to ensure that everything is in order. Some states have minimum eaves and valley width requirements.
Is It Difficult to Put an Ice and Water Shield in High Temperatures?
It's difficult to install one during rainy weather. On its own, your ice and water protector is rather sticky and slip-resistant when it comes to heat.
Adding a bit of water to the mix will make it even more adhesive. The presence of too much water may cause the glue to become excessively sticky, making installation difficult.
If you unroll this on your roof before snapping the proper alignment, it will become crooked, and you won't be able to pull it back out. Alternatively, if you do so, it is very probable that a wrinkle will result. The greatest thing to ask your roofing company if they deal with ice and water block in hot weather.
Remember, if your roof is improperly installed, it may put your house even more at risk of ice dams. As a result, it's essential to ask the necessary questions before installing.
How Much Will It Cost to Get an Ice & Water Protector?
The basic product will cost you $385 to $415, including installation fees. If you want a better design and construction, expect to spend an extra $70 on average, resulting in a total of $455 to $490.
For the best design and material quality, expect to spend at least $520 and $590, respectively. The prices listed here are rough estimates of material and installation expenses, so expect roofing businesses to offer different price quotations based on overhead and labor costs.
Finally, when budgeting for the cost of an ice and water protector in your house, add at least a 7 to 12 percent increase on top of your budget projection.
If you want to dispute your current bill or seek greater or lower pricing, look around in early winter or late fall since most roofing businesses will provide greater discounts at that time.
An ice and water protector is the finest solution for preventing ice dams and leaks in your house. It's far more efficient and long-lasting than felt paper or roof felt in keeping your roof safe and well-maintained.
We hope you enjoyed reading this post! Please let us know of any comments, ideas, or concerns in the comments area below!