A composite roof is a better option than asphalt or tile roofs since it is more durable and has a wider selection of designs and colors. Although they aren't as long-lasting or attractive as copper or tile, fiberglass shingles are considerably less expensive to install. Today, composite roofing shingles are the most widely used roof covering. When you replace your roof, the old shingles and tar paper as well as the plywood sheathing are typically removed. Because of the slope, you'll need to install a layer of roofing underlayment (medium-density polyethylene), then shingles, flashing, and drip edges.

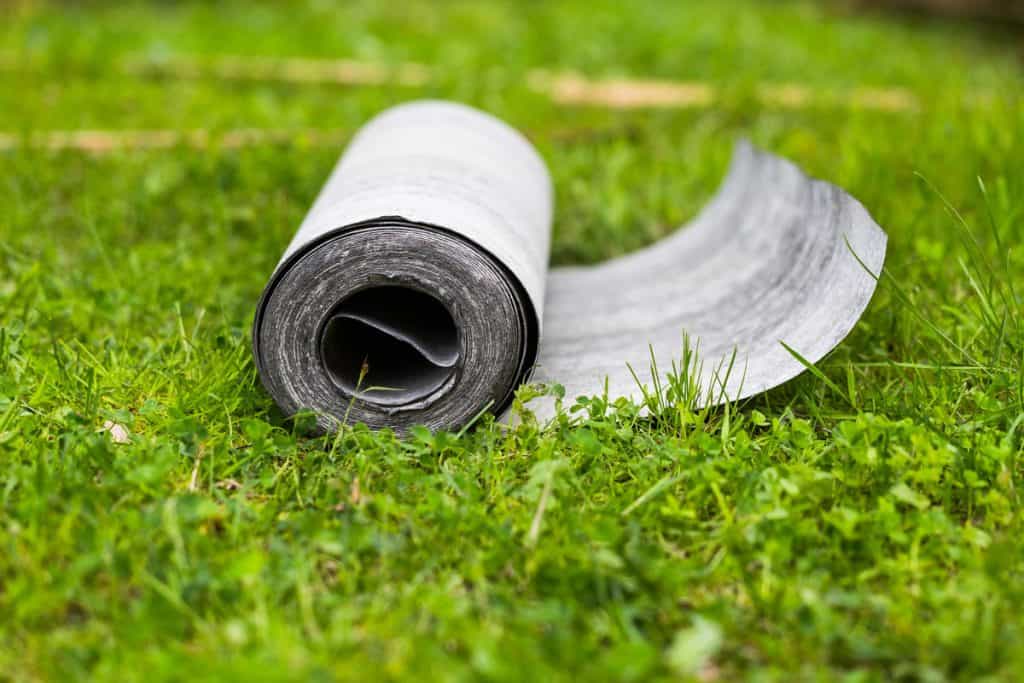
Step 1 - Staple the Tar Paper
When stapling the tar paper to the roof, work your way up from the bottom and align it with the side edge of the roof. If you come across a hip or ridge, overlap the paper 6 inches. Overlap the paper 4 inches on each side. Check that the paper covers the sheathing completely along the eave edge of the roof. To secure the tar paper to the sheathing, use a staple gun. Before you do, make certain the paper is smooth.
Step 2 - Eaves installation: Install the Drip Edge
Install the drip edge along the eaves first. This is a long, L-shaped piece of tin or aluminum that prevents water from returning up under the shingles. The shingles will cover the eaves at this point. It will cap the sheathing, paper, and shingles on the sides (of a gable roof) and be installed last.
Step 3 - Place the composite roofing shingles' starter row.
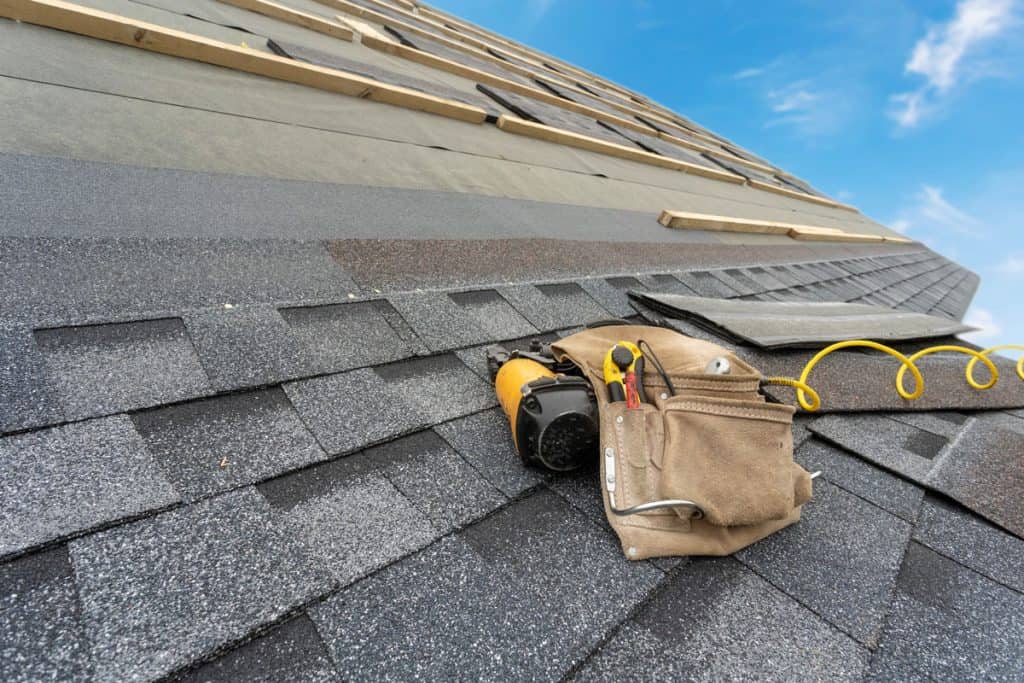
The eaves will be shingled first, beginning with the eaves. You want the first shingle to rest against the roof's edge. If you're shingling a hip roof, begin the row with approximately half of the shingle overlapping the hip. Along the entire starter row, make sure the shingle overhangs the eave edge by 1/2 inch. The work gets a lot easier using a pneumatic nail gun. Roofing nails should be used four per shingle. The nails should only be placed 3 inches above the eave.
Step 4 - Second layer of composite roofing shingles should be laid.
The second row, on the other hand, will be laid directly above the first. In essence, you'll be doubling the first row. The tabs should not be placed directly over one another on the shingles. Offset them instead. Once more, a total of four nails should be used, but they should be positioned 5 3/4 inches above the bottom this time.
Step 5 - Work your way to the top of the roof.
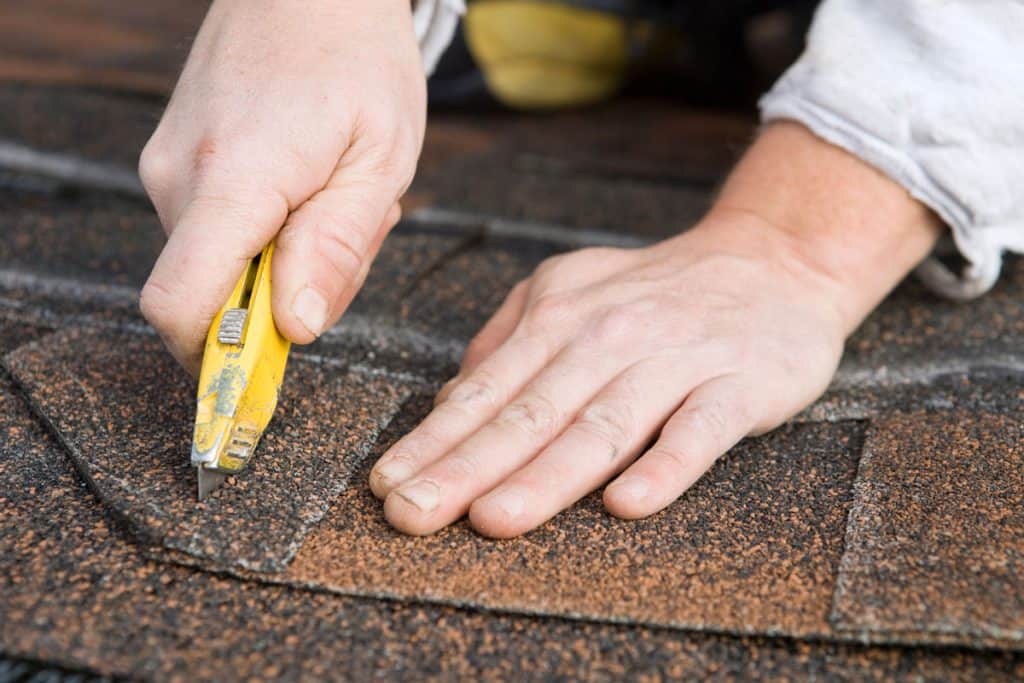
You're ready to move on to the next row now. Cut one shingle in half and place it above the end (full-size) shingle of the previous row. It should be flush with the edge and secured with three nails. This method ensures that the entire row is shifted from the previous row, resulting in staggering tabs. You do not need to cut another shingle. When you get to the other side, you will most likely be able to use the remaining half of the shingle that you cut to finish the row. If not, make another single larger.
Step 6 - Follow These Steps
Follow the same technique up to the ridge. To set them apart, cut a shingle in half every other row down the center. When hip roofs are used, the shingles should overlap the hips. You may trim them to size afterward. Always use four nails for each shingle and place them 5 3/4 inches above the bottom edge.
Step 7 - Install the Ridge Shingles
Once you've completed both sides of the gable roof, you may install the ridge shingles. Ridge shingles, like most other types of shingles, are made up of a single 12-inch tab of the original shingle. They expose 6 inches of the old shingle. As for the hips, similarly do them, with the ridge shingles overlapping at the joints.
Step 8 - Install the Side Drip Edge (on Gable Roofs)
The side drip edge is installed last on a gable roof. It's a metal cap that covers the sheathing, paper, and composite roofing shingles along the edges.
What Is Roll Roofing?
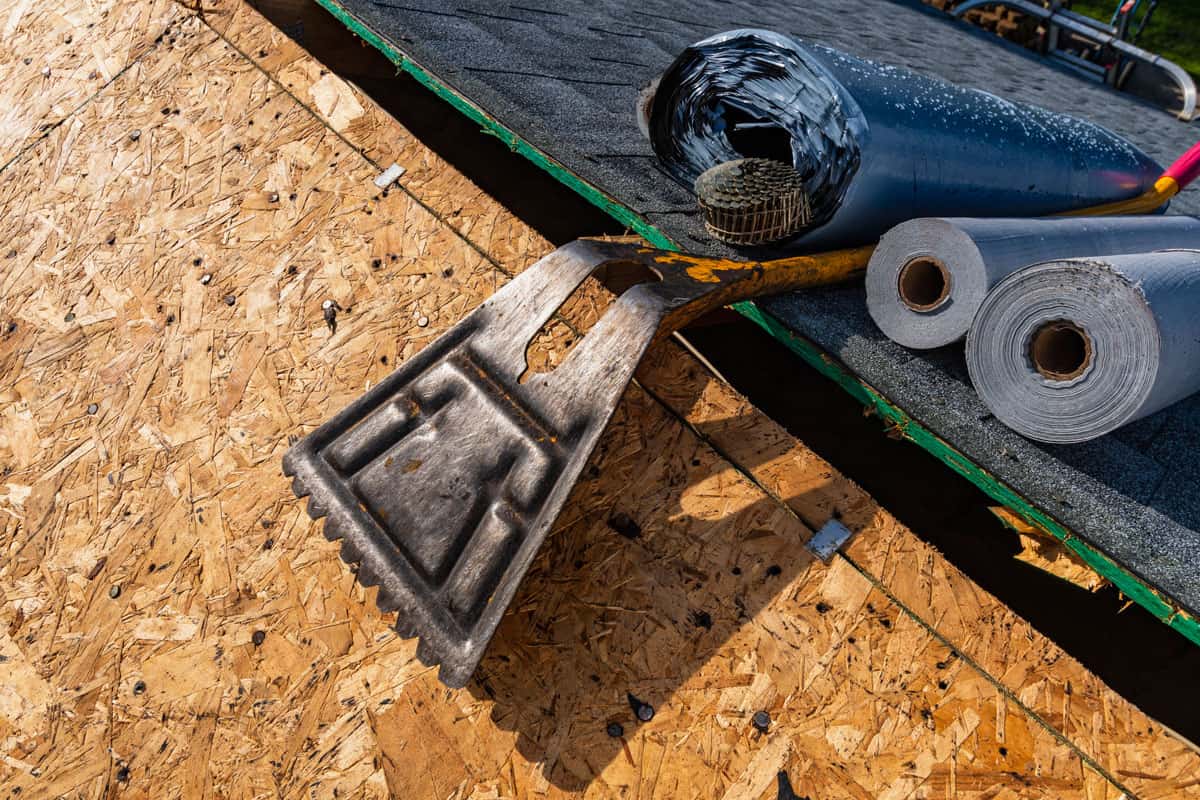
Roof tiles made of granulated material and rolled roofing are a few examples of this product. They're available in large, long sheets that must be rolled up before being installed on the roof. The mineral substance is thin and extremely cost-effective. It's even less expensive than asphalt shingles, one of the most popular roofing materials.
Mineral surfaced roofing (MSR) is yet another type of asphalt shingle roofing. It comes in standard rolls with 100 square feet of material, and it can be found at most home improvement retailers. A typical roll measures 36 feet long and 36 inches wide.
Ideal Use
When compared to other roofing systems, flat roofs are quick and simple to install. That's why most homeowners choose to install Shingle RV Roofing themselves. It's low-cost and simple to work with, so even a novice do-it-yourselfer can do it without much trouble. However, rolled roofing is less durable and thinner than other types of roofing.
If you want something more durable than rolled roofing for your house, you could opt for un-reinforced concrete. However, this material is ideal for vacant structures like garages and sheds. It may be used to build playhouses, barns, carports, gazebos, and other outside buildings.
The major advantage of rolled roofing is that it may be installed by a single individual with little training or experience. Roll roofing can usually be installed without the help of a team of specialists, and almost anybody can do it without any prior knowledge or expertise. The procedure is straightforward.
You can install a roof in a matter of days as long as you meet your deadlines and do the job safely. You'll have a new roof after some manual labor.
Installing Roll Roofing
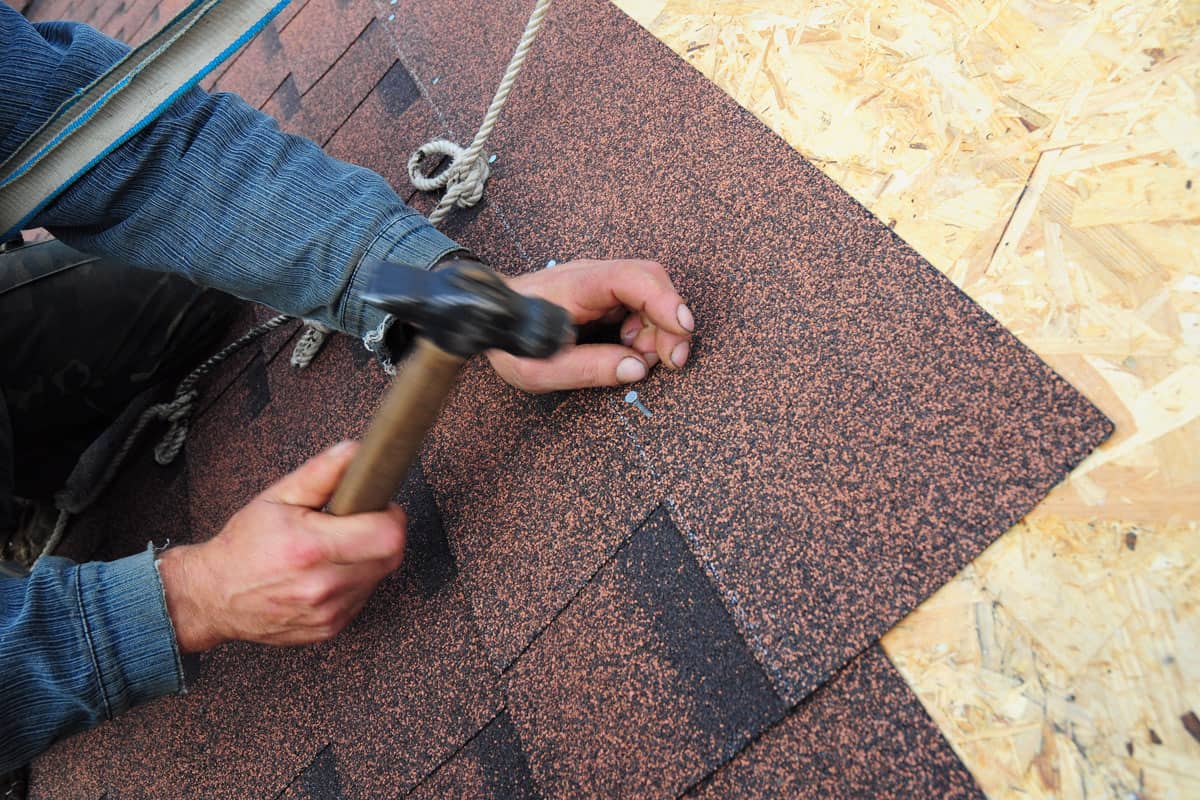
To install roll roofing, it's stretched out on the roof in long strips. Tack down the material as you unroll it across the roof with 11-gauge roofing nails. The cost of the materials is modest, and they are readily available. The labor is also free if you install the roof yourself.
Rolling up material on a train is both laborious and time-consuming. You'll need some assistance loading the materials onto the roof. Roofing rolls are less heavy than shingles, but they aren't difficult to transport to the top. Have a partner hand you rolls from the ground to the roof.
