When it comes to roof leaks, you can't afford to take chances. If a roof leak is left unchecked, it will eventually develop into a more serious problem. It won't be good news for your bank account if problems arise.
A leaking roof is something that each cautious homeowner dreads. However, here's a handy life hack: learn how to tarp a roof without nails.
If you're wondering, a tarp may help you avoid having to repair a leaking roof in a variety of ways, and the process is considerably simpler if you don't have to use nails. Tarring a roof with nails has several benefits, but it might be tough for novices.

Staying safe when repairing your roof
Roof repair work is a very dangerous operation. As a result, before you go up there to do the task, you should take certain precautions. Here are some measures you may take to enhance the safety of your roof while doing repairs.
1. Use a sturdy step ladder to get on top of that roof.
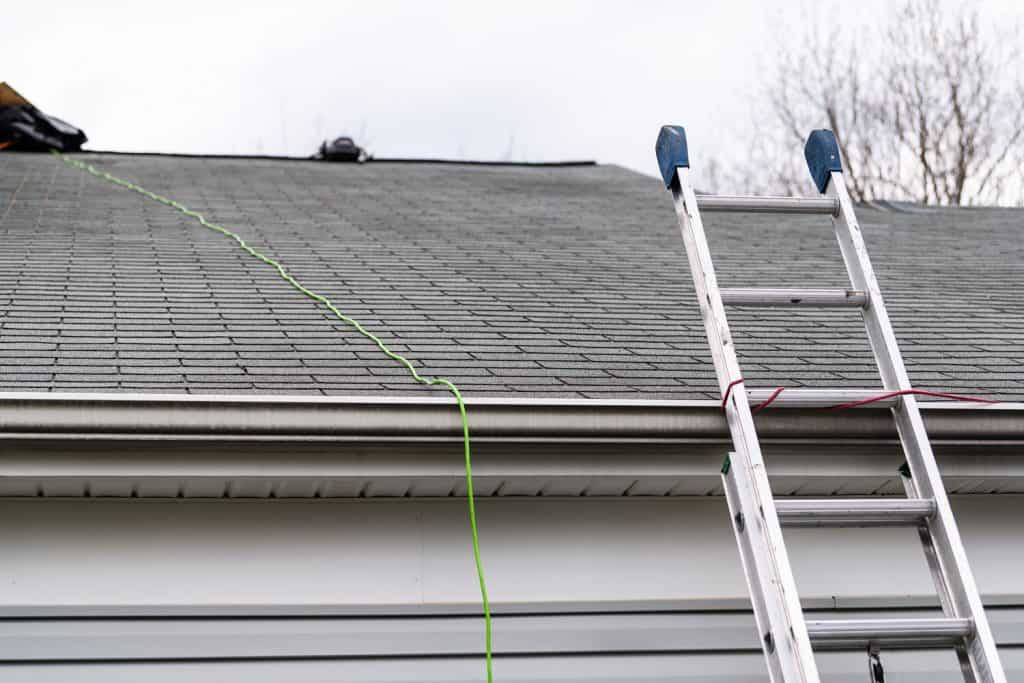
Make sure the ladder is on a firm foundation. If not, place pieces of plywood on the ground to maintain the ladder flat on uneven terrain. Dig a hole for each foot of the ladder, or just use one big hole if necessary, so that climbers don't slip in muddy or grassy soil.
2. Wear shoes or boots that are appropriate for roofing work.
When you're standing on the roof, you must maintain your balance. As a consequence, sturdy shoes or boots with good treading and traction are necessary. Rubber-soled shoes or boots are your best choice because they provide the greatest grip on wet surfaces, even if you're wearing them indoors.
3. Make sure to avoid stepping on the roof tarp.
Although many tarps are non-slippery even when dry, they are frequently slippery. You risk losing your footing if you don't keep stepping on them. If you don't keep stepping on them, your feet may slip out from beneath you. Take care of the tarps by keeping a safe distance from them. Give them plenty of space.
4. Don't try to install the roof tarp on your own.
On the roof, things might get out of hand, and bringing someone along for backup should provide you with peace of mind that someone will come to your rescue or contact you for help if you find yourself in a life-threatening scenario.
Recommended: How To Tarp A Roof
5. Don't tarp the roof when there is a possibility of severe weather.
Roof repair in pleasant weather is already hazardous, and what if you do it while heavy rain is falling and strong winds are threatening to blow you off your feet? Don't take the chance.
6. Use a safety harness.

Do you want to take the risk of tumbling off the roof? What about this for a solution: utilize a safety harness! In your area, you may purchase a variety of safety harness kits from Walmart or Home Depot.
7. If you're not sure how to proceed, get expert assistance.
You may not be able to complete all of the roofing tasks as a DIYer. Because Roofing projects are both dangerous and complicated, you'd be doing yourself and your roof a favor if one called in pros handled it.
8. Take regular breaks.

When you're on top of a mountain, it's simple to go overboard. You might lose your focus or slip or fall as a result of overdoing it. Breaks are always necessary when working in an unsafe setting. Don't hesitate to take them if you're weary or winded.
You might want to know: How Long Does It Take To Tarp A Roof
Installing Tarpon a Roof Without Nails
Installing a tarp on your roof is not as difficult as you may believe. It's even simpler if you don't use any nails. Here are the steps for putting up a tarp on your roof without using nails.
1. Find the source of the leak.
If you're not sure whether or not your roof needs tarping, start by identifying the part of the roof that needs to be covered. Examine any loose shingles or damaged vents on top of the roof for signs of damage. Is it raining outside? Check for water damage in the basement if you can't locate a leak from above
2. Measure the dimensions of the tarp to be used.
It should go without saying that the size of the damage, as well as the tarp you'll need, depends on its size.
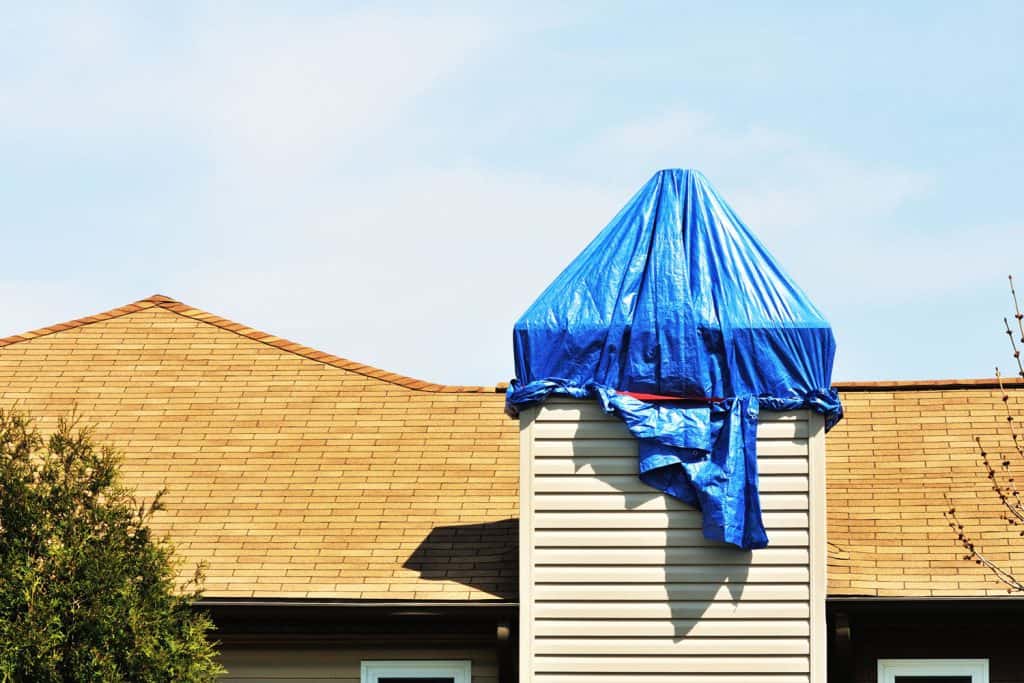
Another vital thing to remember is that the tarp should be large enough to cover the roof's peak. Otherwise, water will seep into the tarp's underside, allowing water to continue entering your home.
As a rule of thumb, the tarp must cover the roof's peak by at least four feet.
Make certain you bring a measuring tape with you on your trip to the roof.
3. Buy a self-adhesive roof tarp.
Do you have a tarp but no space to store it indoors? It's time to remedy the situation. The question is, what sort should you choose?
There are several types of tarps to select from when shopping for one. A self-adhesive tarp, on the other hand, is a wonderful purchase. We want to cover the roof with this tarp without using nails, therefore we'll need a tarp that sticks to the roof without additional fasteners. You may get self-ad acquire self-adhesive tarps from a Walmart or a Lowe's near you.
If you're purchasing a self-adhesive tarp, make sure it's compatible with the sort of roofing material you'll use. If you're using asphalt shingles, for example, look for a self-adhesive tarp that will adhere to them.
4. Install the tarp.
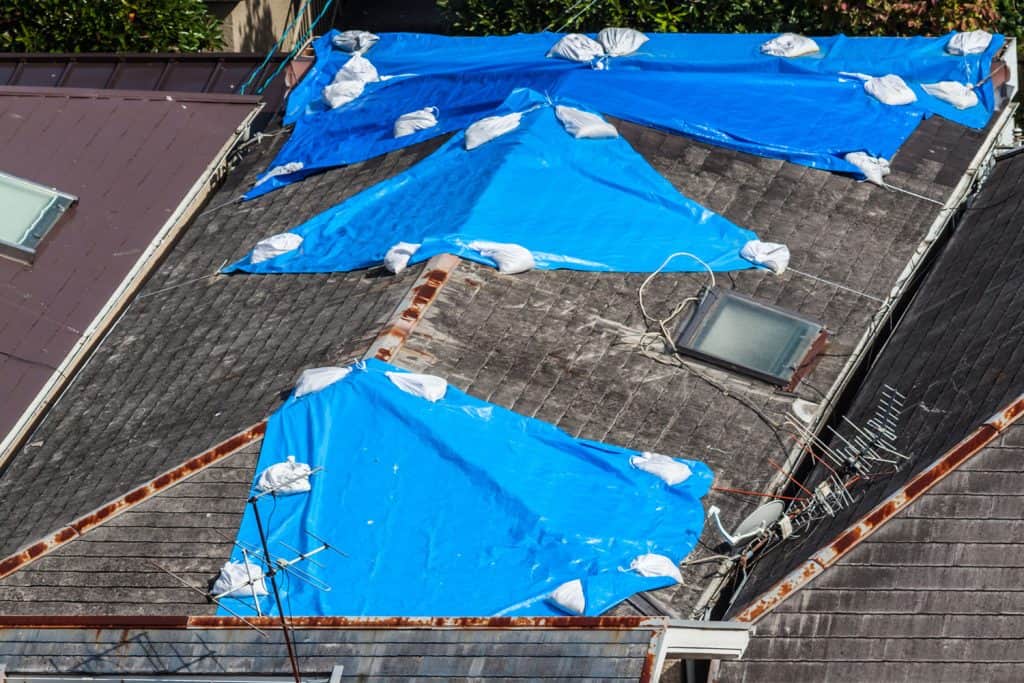
Before laying the tarp, clear any dirt or debris from the roof and ensure there are no horizontal obstructions that might cause water to pool. Keep in mind that once the water reaches the roof, it should flow down. Allow rainwater to pool, and the build-up pressure will cause additional leaks.
Depress your rain gutters. The narrow ends of the sandbags should be pointing up or down the slope, depending on whether you're putting them on a flat roof or a sloped one. To allow for free water drainage, make sure the tarp extends beyond the roof's peak.
Before applying a self-adhering tarp, make sure the roof is dry to avoid problems. If there's any dampness in the afflicted area, you might apply a heat gun or a torch to it for a few minutes to make it more sticky.