Your roofer is too busy to come out and resolve the problem right away, so your roof has a problem. What should you do if this is the case? This is a typical sequence that may happen when residents are subjected to a severe storm or hurricane that has passed through their city. Roofers are so preoccupied with replacing many roofs after a calamity that they don't have time to address even major repairs immediately. If this is a shingle-based roof, consider putting up a temporary roof tarp to keep it from deteriorating any further.
When used correctly, a roof tarp can keep your roof from becoming wet, snowbound, or damaged by the elements. It may help to prevent leaks and aid in the repair of existing issues. Tarping your roof not only helps to protect your property, but it may also be necessary by your homeowner's insurance policy. Even if your insurance company will cover the initial damage, it may refuse to pay for any subsequent damage caused by the storm unless you impose restrictions on its effects on your roof and throughout the rest of your house.
It's a good idea to hire an expert
It's a good idea to hire an expert roofer to install a roof tarp. Attaching a tarp takes little time, and roofers are anxious to complete this task since it increases the chance you'll pick another contractor rather than waiting until they can accommodate you into their schedule.
It's not a smart idea to attempt to build your tarp. It's dangerous at its finest, never mind during a big storm or when you believe your roof is leaking when you're standing on the roof without the necessary training and equipment. It's more challenging to fall off of wet roofs with potential tripping hazards, such as unsecured shingles. If you're a big guy, your roof may collapse beneath your weight. Consider some non-urgent measures to take ahead of time if you're the type who likes to get things done.
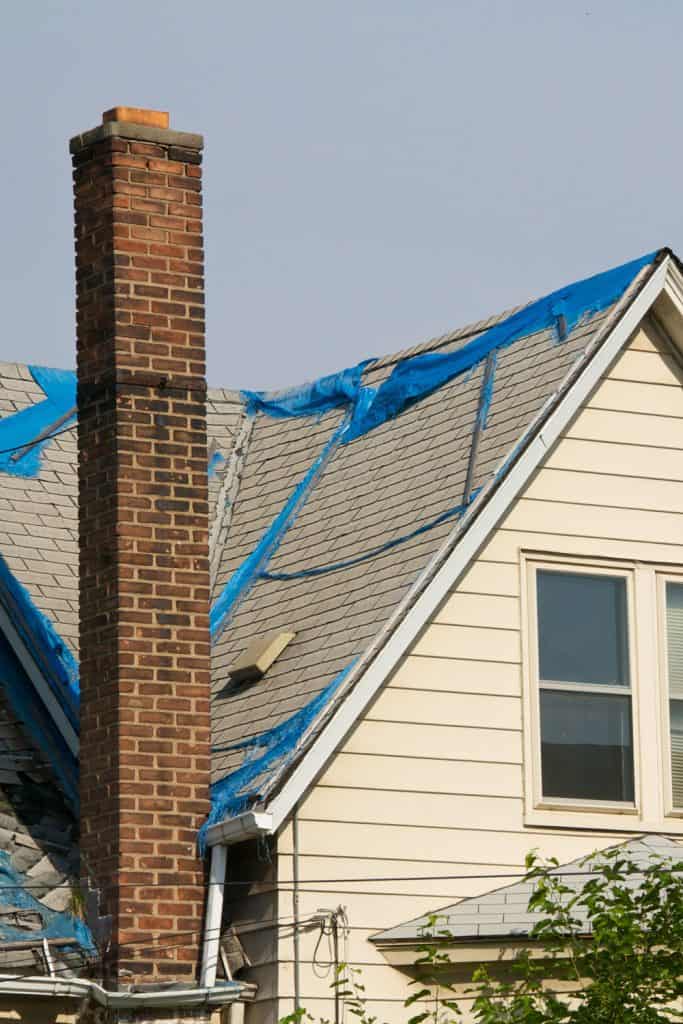
Even though a professional should be in command of tarp installation, you should double-check that your roof is properly tarped to protect yourself and reassure your insurance provider. So, let's go through how to put up a roof tarp and answer some of the most frequently asked questions.
How to Tarp a Roof
Here are step-by-step instructions for making a tarp safe on a roof:
Tools required:
- Suitably sized tarp.
- Thin wooden boards, 2×4 or thinner.
- Tool to remove debris, such as a roofing shovel.
- Nails or screws.
- Ladder and safety equipment.
- Camera or smartphone.
- Measuring tape.
Read more: How To Tarp A Roof Valley
Examine the Roof and Measure
To begin, roofers must first inspect the roof to determine which pieces require a tarp. They may check the damage from a ladder using a safety belt or use a drone to get a closer look at it physically. Using a tape measure, they'll determine how big of a tarp they'll need to cover the damaged region.
Take Pictures
To obtain insurance, take pictures of the damaged sections of your roof. Take photos of the tarp and any trash before it is put on and after anything has been taken off the roof unless taking down the debris is required to assess the whole extent of the damage.
Select Tarp
The roofer will choose a tarp to cover your roof. As the tarp must extend a few feet beyond any damage to provide adequate coverage, it should be larger than the measured area. The tarp should be approximately 2-3 feet longer than the overall length of the shelter to allow for any wall or other features that may extend beyond the structure. When properly positioned, water will run down it without dipping beneath it. It's also possible that if the water rolls down the roof and over the lip where the tarp begins, it will work its way under the tarp.
The quantity of tarp required may also be determined by how quickly your roofing crew expects to be able to reach your roof, as well as whether or not the harsh weather is expected to return.
Remove Debris
After that, your roofers will remove any loose materials from the roof, such as shingles and nails. Debris in gutters, poor water circulation, and other factors created the potential for further roof issues.
Unfurl Tarp
To raise the tarp, two or more roofers will be needed. If your roofers remove the backing from the glue on an adhesive roof tarp to ensure proper adhesion, they may do so with them. Adhesive tarps are more difficult to install than ice and water protectors that roofers use on a daily basis. The granules beneath an adhesive tarp, on the other hand, will have to be eradicated.
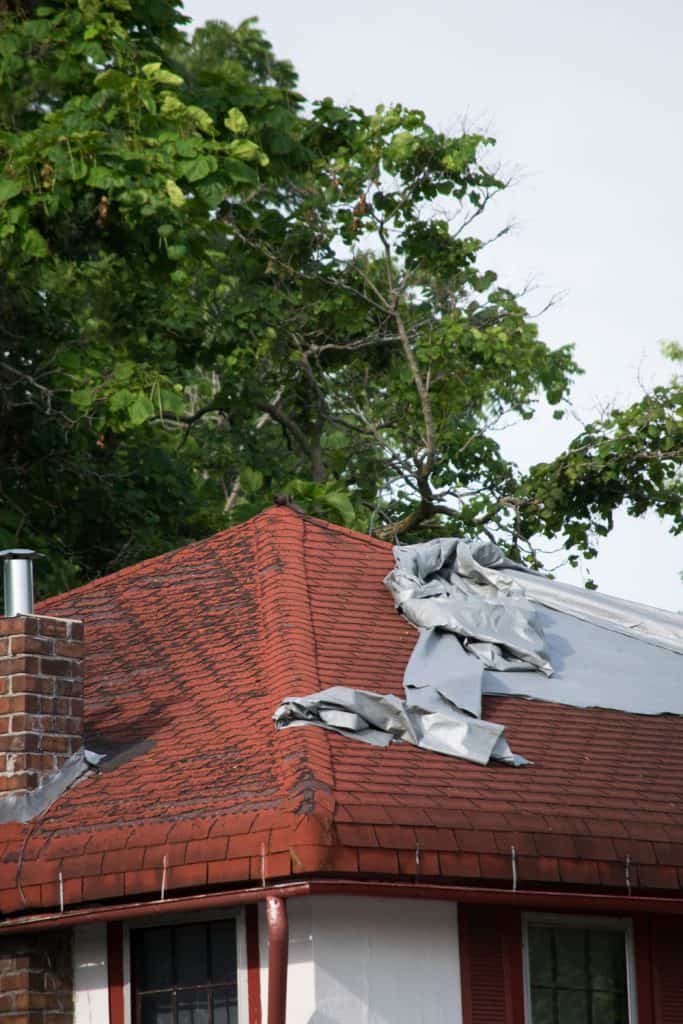
If your roofers don't use an adhesive tarp, they'll need to take a few more measures to weigh it down.
Secure Tarp
To attach a tarp with nails or screws, your roofers will need to wrap the end of the tarp around a piece of wood as an anchor. The board acts as a weight for the tarp so it doesn't flap about on the roof and pulls it down. Also, if your roofers add a few nails to the tarp, the tarp will likely rip at those points. When the entire end of a tarp is wrapped around a board, pressure is distributed throughout it, making it less prone to come off.

If the damage is significant, your roofing crew may need to add several boards to ensure that the tarp stays in place. Any water dams must also be avoided, as well as any cuts and installations required for the roof overhangs. Roof overhangs, for example, should not be completely horizontal. To allow water to run off the side, the boards should slope downward at one end.
Recommended: How To Tarp A Roof
Nail or Screw Boards Down
The roofers will fasten the board to the roof with nails or screws after they wrap the tarp around a thin wooden plank. All the nails and screws should be driven straight into the shingles. All of these shingles will need to be replaced when the roofers fix the roof, but it is a small price to pay for water prevention.
How to Tarp a Roof Around a Chimney
When the damage is near roof features like chimneys, plumbing vents, and skylights, it's more difficult to tarp the roof. A tarp not only shields your horse from the sun; it also protects you against lightning strikes. Leaving a plumbing vent or chimney uncovered, on the other hand, poses a significant safety risk.
In general, your roofer should make a hole for these features and then wrap the tarp around them.
Tapes are frequently used to secure the tarp to the chimney flashing in order to keep these locations watertight. Because some tapes may not adhere well to masonry, your roofer might need to tape the tarp onto the chimney flashing.
