Concrete is one of the most diversified man-made materials in existence, having been used for building all around the world. You also know that while concrete is durable, it does tend to crack with age. So, if you have concrete roof tiles, you've probably wondered how to preserve them.
Roof tiles may last for years if they are properly sealed. However, it is not always necessary to seal concrete roof tiles in every location. This is due to the fact that exposed aggregate roofs are porous but organized in a particular design, and do not allow water into the house.
Lets see the steps, how to seal concrete roof tiles
Step 1
Clean the barrel tiles with a pressure washer that is adjusted no higher than 1,200 psi to avoid damaging them. To protect against injury from the water pressure, keep the nozzle at least 1 to 2 feet away from each tile during cleaning. Wipe the roof gently with a soft brush to remove any dirt, debris, or plant life that has begun to form on the surface. Allow the roof to fully dry before proceeding.
Step 2
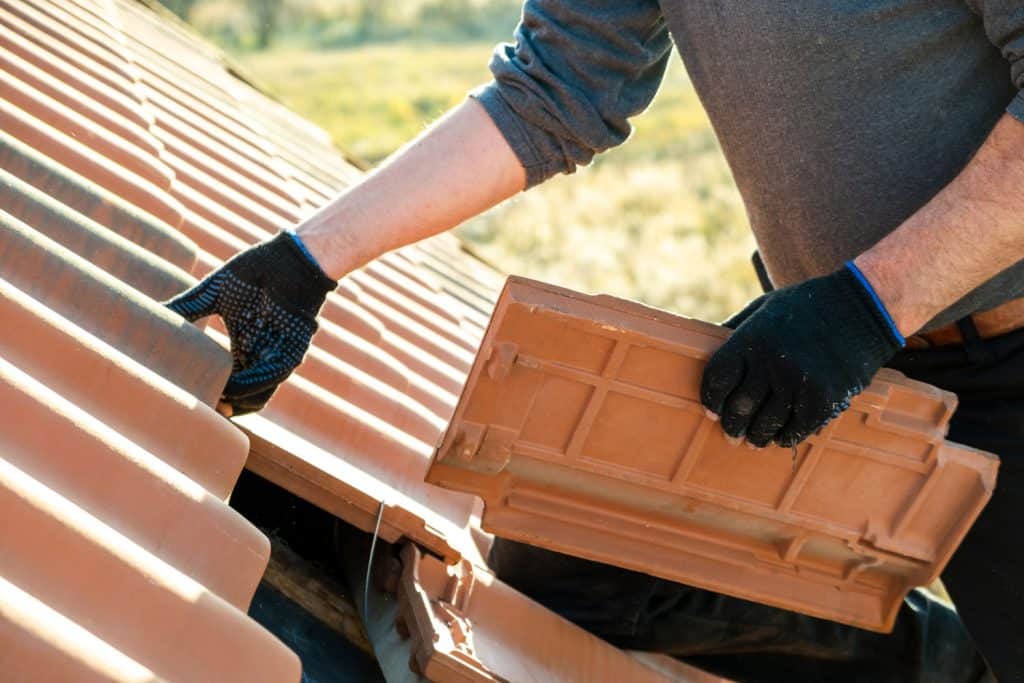
Before the roof is sealed, make any necessary repairs. Replace any damaged or cracked tiles. Repair broken or damaged tiles with a patching sealant instead. Caulk any cracks or holes and reconnect any loosened roof paper. Allow adhesives or fillers to dry fully before applying them.
Step 3
Using a paint stick, thoroughly mix the roof sealant. It must be a concrete roofing tile sealant with the correct coverage and protection, rather than a simple masonry sealant. Pour some of the coating into a bucket if you're using a brush; otherwise, use a paint tray.
Step 4
Keep your feet close together and parallel to the tiles, then walk across the roof on the valleys between tiles. To spread out your weight evenly, keep your legs horizontal to the tiling and step only on the lower three inches of tile where there is more support.As you walk across the roof, keep this in mind: do not step on any tiles. Begin sealing at the highest point by walking softly.
Step 5
The sealant should be applied to the concrete barrel tile, with care being taken to reach into grooves and valleys between the tiles. To apply sealant to the top and sides of tiles, use a little roller or a brush for the entire operation. Before proceeding to the next tile, make sure each one has been adequately coated.
Step 6
Work in small sections, covering each tile completely with sealant before moving on to the next tile or section. Allow at least 12 hours for the roof to dry.
Step 7
Allow the second coat to dry at least 12 hours before applying a third coat. Begin with the highest point of the roof and work your way down, following the same path as before. Allow at least 12 hours for the second coat to dry.
Concrete's Weathering Process
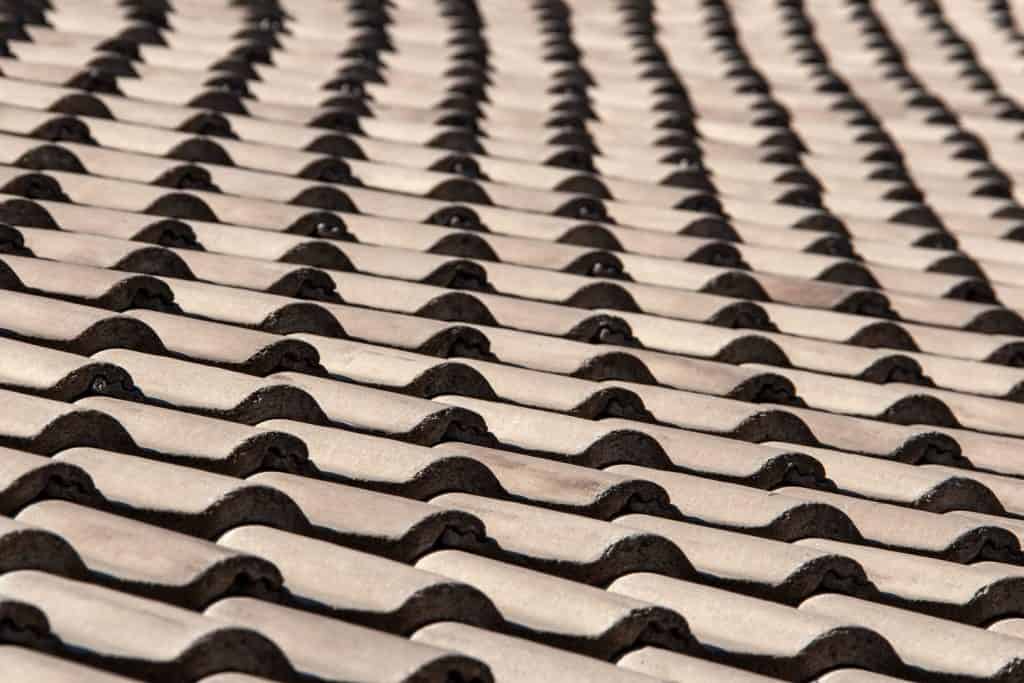
Although it is not necessary to seal your concrete tiles, you need to be aware of one aspect of concrete that many homeowners are unaware of. Concrete will weather more than other materials do. Concrete, in contrast to clay, requires a significant amount of maintenance to keep its strength and aesthetic appeal over time.
Concrete tiles are always subjected to the elements, including rain, snow, ice, and sunlight, which may cause either the concrete or color to deteriorate. One more thing, To prevent deterioration, it's necessary to repair or replace concrete every few years. If you live in a more severe climate, your roof tiles' concrete mixture may need to be tailored to withstand temperatures of 100 degrees Fahrenheit or the expansion and contraction of ice.
When concrete cures, water molecules in its structure continue to exist for many years. The heat and cold might cause fractures in the concrete as a result of this disruption.
However, if well built and intended to withstand weathering, concrete is a fantastic and long-lasting material for roof tiles. In order to make the concrete more durable in specific climates, manufacturers may add chemicals into the mix.
However, even if you do all of the above, your driveway will require maintenance over time, which includes cleaning and possibly sealing.
The Advantages of Roof Tile Sealing
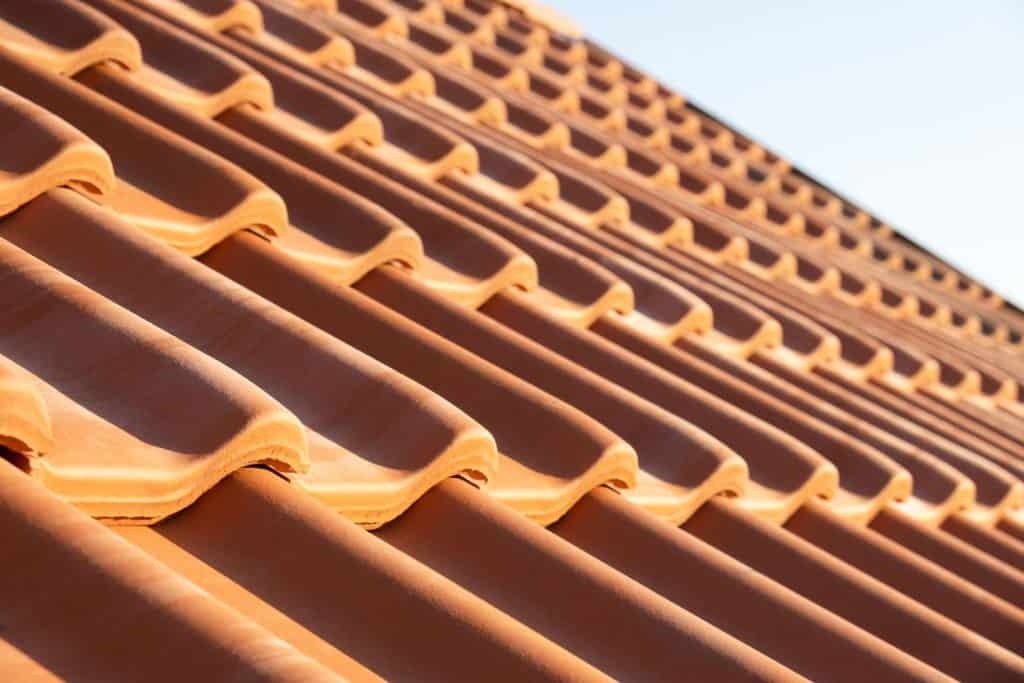
Many benefits come with sealing your concrete tiles. As part of the upkeep procedure for preserving your concrete, sealing helps to extend its life by preventing algae, mold, and mildew from growing on it. The sealer protects against color fading in concrete that has been mixed with a specific color pigment, even if it has not been colored.
Seals protect your concrete from the harsh UV rays of the sun, and it can safeguard against weather conditions like hail, snow, rain, or other debris falling on the roof of your house. The process of waterproofing concrete includes sealing it effectively, ensuring that rain can't get inside its pores and potentially drip into your home.
In the long run, sealing your concrete tiles will be an investment in your house that may improve its value.
Concrete's lifespan can range from 20 to 70 years or more, depending on how well it is maintained.
Disadvantages of Sealing Roof Tiles in Concrete
A concrete sealer does not guarantee that your concrete will be safe indefinitely. Unfortunately, you'll have to reapply the sealer to the concrete every three to five years. This may be one of the most significant drawbacks for homeowners.
Some sealers might pollute the soil, kill grass around your home, or get into gardens. As a result, it's critical to select the finest concrete sealer for your needs.
Always remember to put on a mask, gloves, and a covering on your clothing before applying any sealer. It will stain garments if it is breathed where it isn't well-ventilated, causing health issues and potentially damaging the lungs.
It's not unusual to spend several thousand dollars on roof sealing. While the expense varies from contractor to contractor, it typically costs around $1,100 to seal your concrete tiles.
In reality, you may end up spending anything from $60 to $5,000 or more on your whole roof. Concrete is therefore the less expensive choice for roofing tiles, but the long-term expense can be prohibitive.
