Vents are an efficient and straightforward approach to safeguarding your roof and home. They allow for optimum ventilation to prevent dampness from accumulating beneath a roof and in the attic, resulting in future damage to the rest of your house. In the end, vents are an essential component of a healthy place and a complete roofing system. Roof vents are a great way to add value to your home and make it more appealing. So, you're probably wondering How To Install Roof Vents?
It would be a brilliant idea if you knew how to put roof vents on your own. Roof vents are one of the most simple modifications that can be made to a roof. In this article, I will discuss the step-by-step process of installing roof vents by yourself. So, keep reading.

What Does Roof Ventilation Do?
Roof vents have a variety of applications. Roof ventilation can help your shingles last longer, prevent ice dams in the winter and decay throughout the year, and assist you in saving money on your energy bills. Vents will frequently aid in protecting your property against costly repairs in the future.

I know that you want what's best for your home. After all, it's what keeps your family safe against just about everything. You can assist in guaranteeing your house is safe and sound by preventing moisture accumulation from rooms such as the kitchen, bathroom, and laundry room by allowing optimum roof ventilation.
Do Roof Vents Make a Difference?
Roof vents may be challenging to understand. You might be wondering if roof vents are adequate and, if so, if they're worth the investment. They can improve your house whether it's in the summer or winter. While it's not common, some people experience faulty insulation in the attic that allows cool, moist air to seep into their home during the winter and hot, humid air to build up within their building during the summer.
However, adequate ventilation will allow the heat and dampness to escape, resulting in reduced cooling expenses and extending the life of your shingles. It also prevents your attic from becoming damp and icing.
How To Know Whether Your Roof Needs To Be Ventilated?
Heat buildup in the attic is reduced during the summer. That extends shingle life and lowers cooling costs. Warm, wet air seeps into the attic from below in the winter. Vents must release heat and humidity. Ice dams are reduced as a result of this. Here are four indicators of a stagnant or under-ventilated attic:

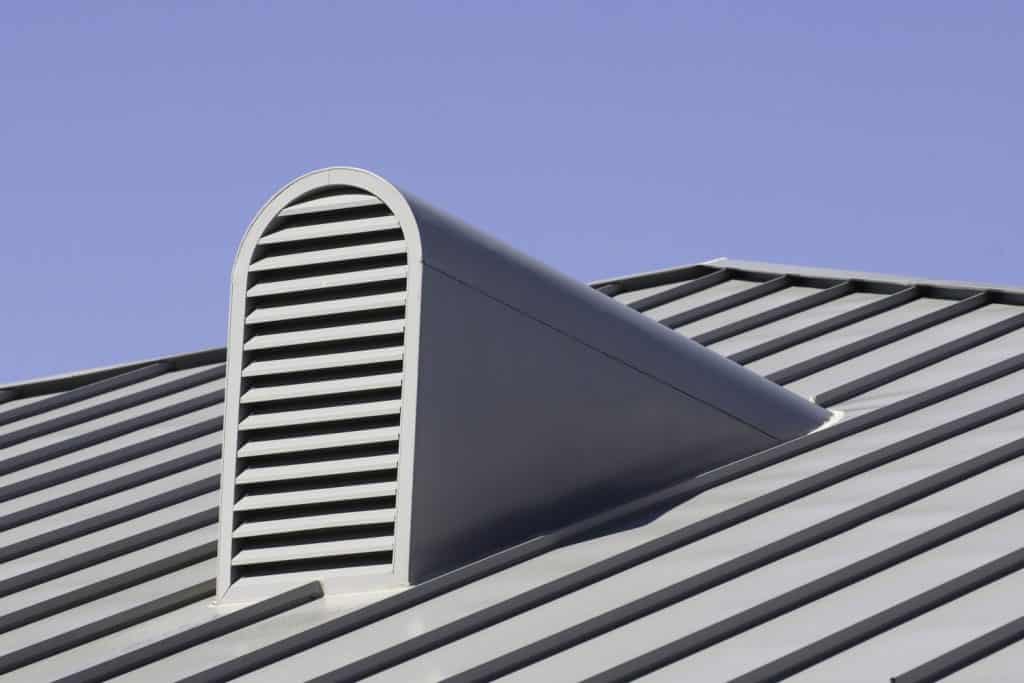
- Examine your eaves and roof. If you don't see any attic vents on the roof or in the eaves, you'll need to install some. Your roof may have a ridge vent, a low-profile continuous roof air vent that runs along the peak of the roof. It may also contain gable vents, louvered openings at the top of the roofs.
- On a hot, sunny day, touch the ceiling. According to a heated roof, the attic functions as a solar oven, raising your cooling costs and cooking the shingles.
- In winter, ridges of ice on your eaves indicate a lack of attic ventilation. Warm air from the rooms below is trapped in the attic as melting snow refreezes on the cold eaves. Snow melts, and water freezes on the chilly eaves, creating ice dams.
- The warm air that escapes a home's interior may also carry moisture, which will condense on the rafters or roof sheathing. During the winter, get a flashlight and check your attic. You'll need improved rooftop ventilation and some attic vents if you discover dampness or ice.
How To Install Roof Vents?

If you want to add roof vents to your existing roof, many homeowners would rather do it themselves, so read through our step-by-step instructions before getting started. Here's what you'll need:
- Vent(s)
- Ladder
- Drill
- Ruler
- Marking pencil
- Hammer and nails
- Pry bar
- Saw
Use the following 10-step approach to figure out how to improve your roof's ventilation:
- First, go up to your roof and decide where to put your roof vent.
- Drill a hole upward through the middle of the area you want, leaving the drill bit protruding from the roof for easy identification.
- Following that, position your ladder against your home and ascend on it to the top.
- Locate the drill bit and measure the vent's open area (the portion that will be flush with your roof).
- After that, using your ruler and a marking pencil, measure the exact size area on your roof as your center.
- Use a reciprocating saw or a jigsaw to cut along the marked lines. You must remove both your shingles and the wood beneath.
- Then, remove the shingles surrounding the hole with a pry bar.
- Turn your vent upside down and apply a thick coat of caulk to the flange.
- Install a vent with the shingles down. Remove the existing vents and install your new ones, leaving the bottom of the vent exposed and laying over the shingles.
- Finally, add nails every few inches to secure the vent to your roof and any loose shingles around the area with them.
How Much Will It Cost?
Fortunately, the cost of installing roof ventilators is relatively low. Installing a vent will typically set you back between $300 and $650, depending on several factors, including materials and labor. The cost of a ventilator will vary depending on the size and type. Vents come in various forms so that they might cost anything from $10 to $500 each. On the other hand, ridge vents are typically between $2 and $3 per linear foot.
Types Of Vents

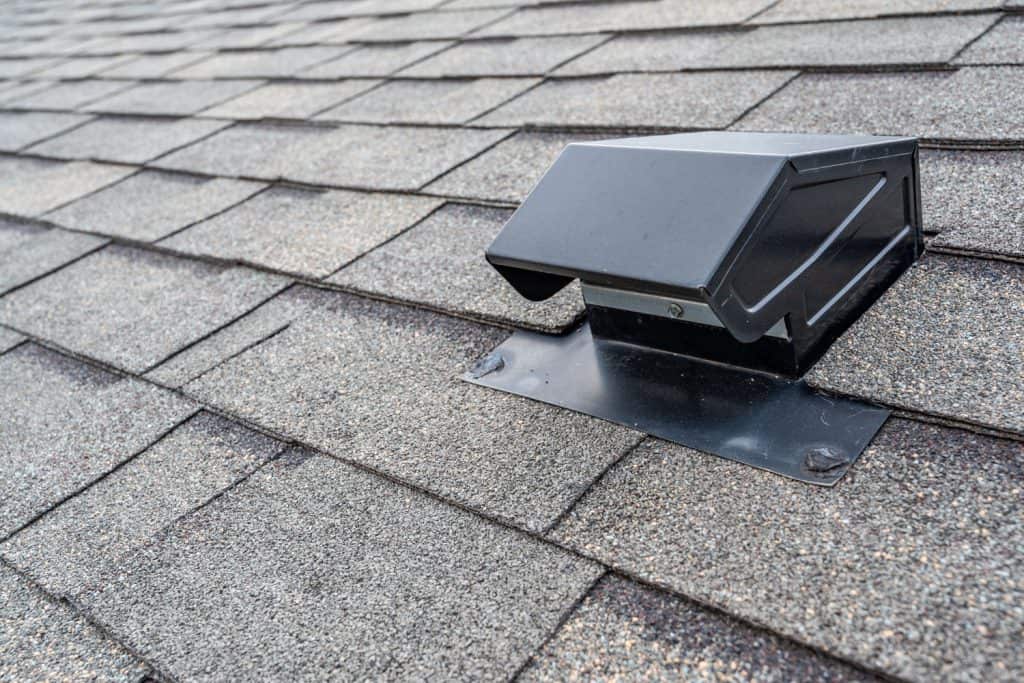
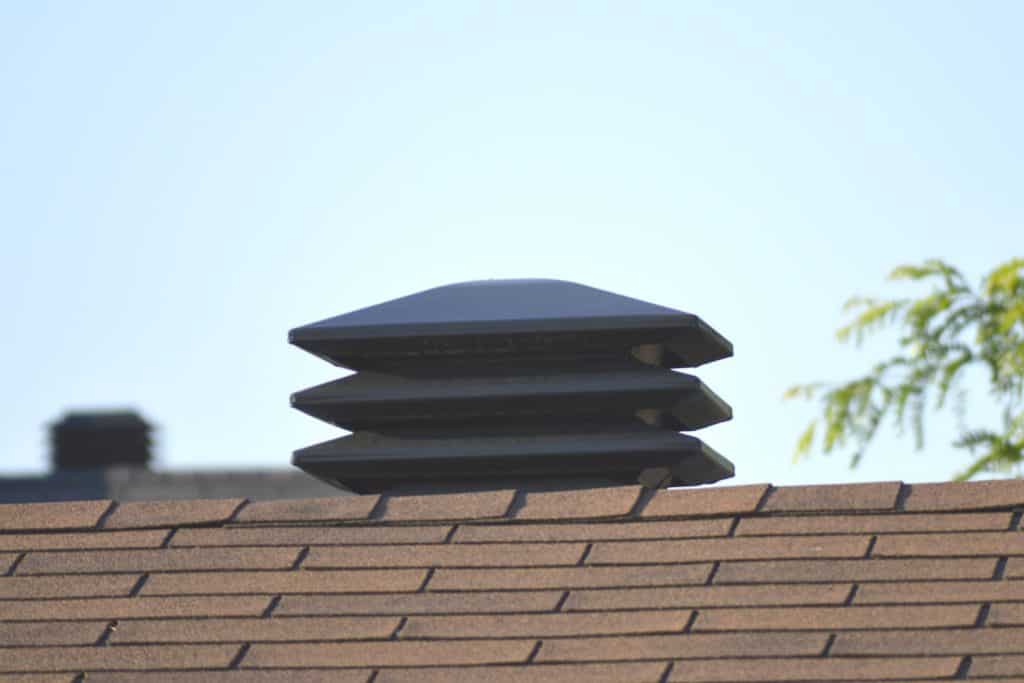
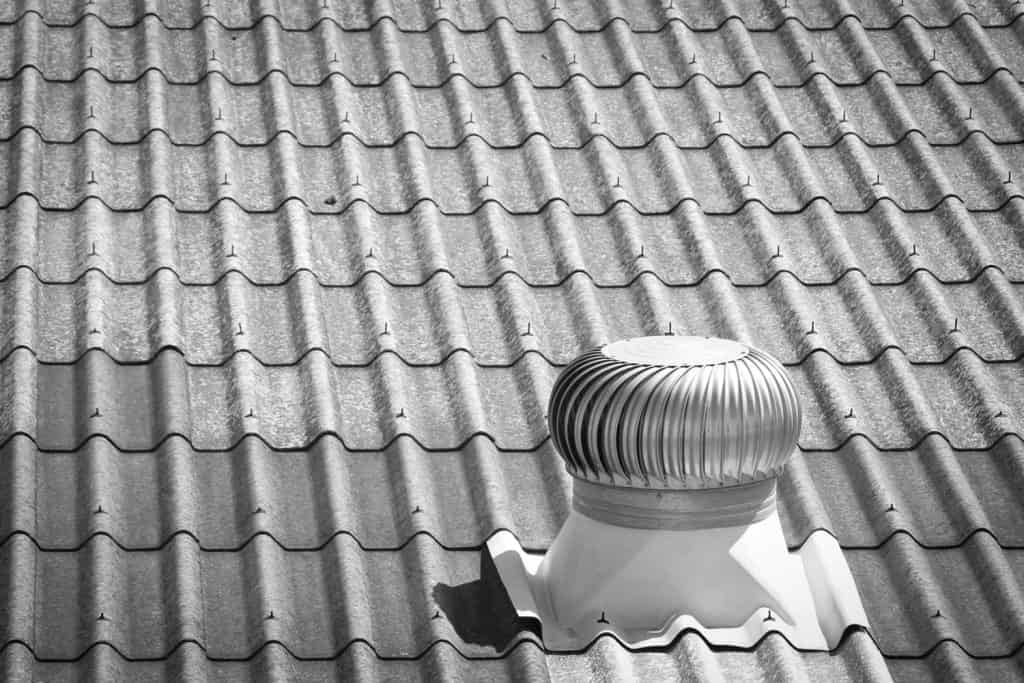
So, what's the difference between the various kinds of vents? There are three primary sorts: soffit, ridge, and roof/gable. Soffit vents run along beneath the eave line of the roof, and their purpose is to increase airflow as it comes in from the outside. Ridge vents run the length of the peak of a roof and allow hot, moist air to escape. Roof and gable vents have only one point of entrance and exit. You'll want a mix of these designs for the most fantastic ventilation system. Any ventilation is better than none; however, it is preferable if several.
Installing vents on your roof is a cost-effective and straightforward way to extend the life of your investment. Because it's a substantial investment, you'll want to do all possible to keep it going for as long as possible. Venting is just one of the methods you may use to safeguard your house. This is a simple task for those who have previously worked on roofing projects. Hiring a professional is usually the best option.
