Installing corrugated metal roofing - A simple DIY weekend project that may instantly improve the look of your home is to install a corrugated metal roof on a garage, shed, or patio cover.
The corrugated metal roofing's dips and swells come in a variety of widths and shapes, which makes it attractive. The corrugated metal roofing in most situations will give your yard or patio a rustic look that is pleasant to sit on.
TOOLS NEEDED FOR ROOFING WITH CORRUGATED METAL
The following items will be needed as part of this DIY project:
- gloves and safety goggles
- hammer
- Measuring tape
- Metal panels (either tin or galvanized steel)
- Paint and paintbrush (optional)
- Polyurethane sealant
- Ridge peak
- roofing cement
- Roofing felt
- Roofing nails
- roofing staples
- Screwdriver
- Staple gun
- utility knife
- Washers and screws
INSTALLATION INSTRUCTIONS FOR A CORRUGATED METAL ROOF
You may install a corrugated metal roof over your garage or shed in as few as ten simple steps.
STEP 1: MEASURE YOUR ROOF
If you don't want to go on the roof, all you have to do is measure its length and breadth, then multiply them. Both ends of a peaked roof must be measured.
Also, remember
Because there will be overlap on the roof, you'll need more material than is stated in the instructions. A roof's recommended overlap is 4 inches.
STEP 2: PURCHASE THE METAL PANELS
Roofs with soffit vents also have a variety of panel sizes that you can choose based on the region. If you'd prefer to cut your own metal sheets, you have a few options. You may either buy large metal panels up to 32 feet long and then cut them down yourself, or you can buy pre-cut metal panels from a home improvement store that are only 10 or 12 feet long.
Cut the sheets with an angle grinder, a saw, or tin snips as needed.
STEP 3: LAY THE ROOFING FELT
Roof felt is utilized to provide insulation. If you're covering a structure with a metal roof, the insulating layer isn't necessary. Attach felt to the wooden beams before adding screws and nails. Instead of using nails, you may simply attach the material to the metal roof. Using a utility knife, cut out the felt to fit around the roof.
The roofing felt will be stretched out horizontally over the plywood deck of the roof. Staple the felt to the roof after it's installed. The felt should be secured with staples. Layers must be overlapped by at least 4 inches and must be correctly nested.
STEP 4: LAY THE FIRST METAL PANEL AND SECURE IT
Start with the bottom corner and work your way up when putting metal on the roof. You must then start a new row after each panel row, which must extend beyond the one before it. This method is best thought of as a roofing ladder that starts at the bottom and progresses upward.
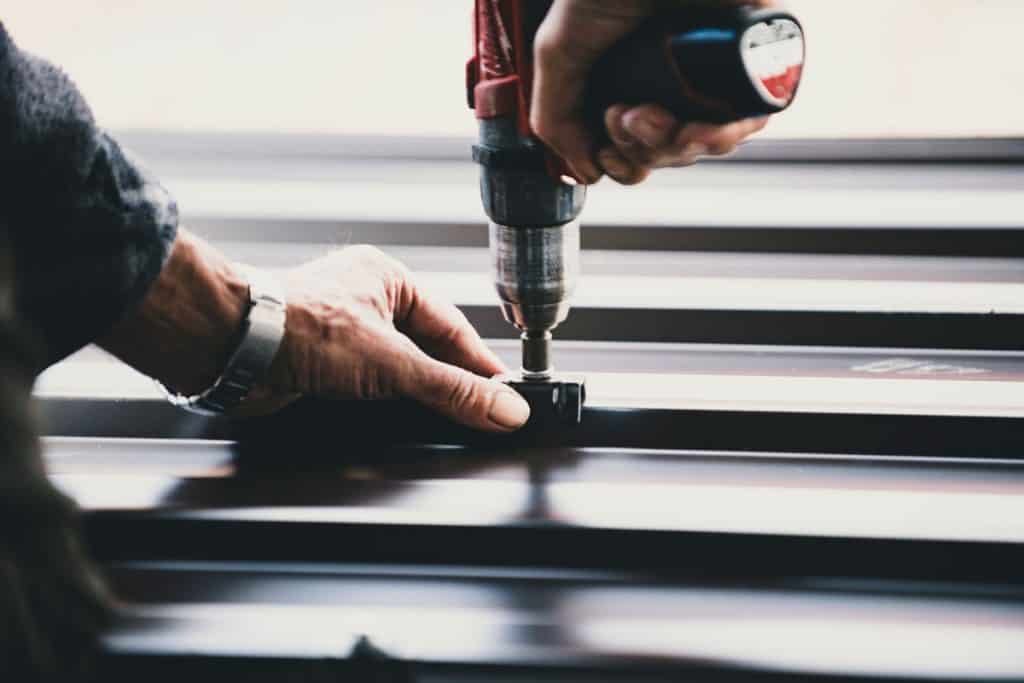
Hang a washer from the plywood of the roof and then screw a 1½-inch wood screw to one of the metal panels, which should be hung over the edge by at least 4 inches.
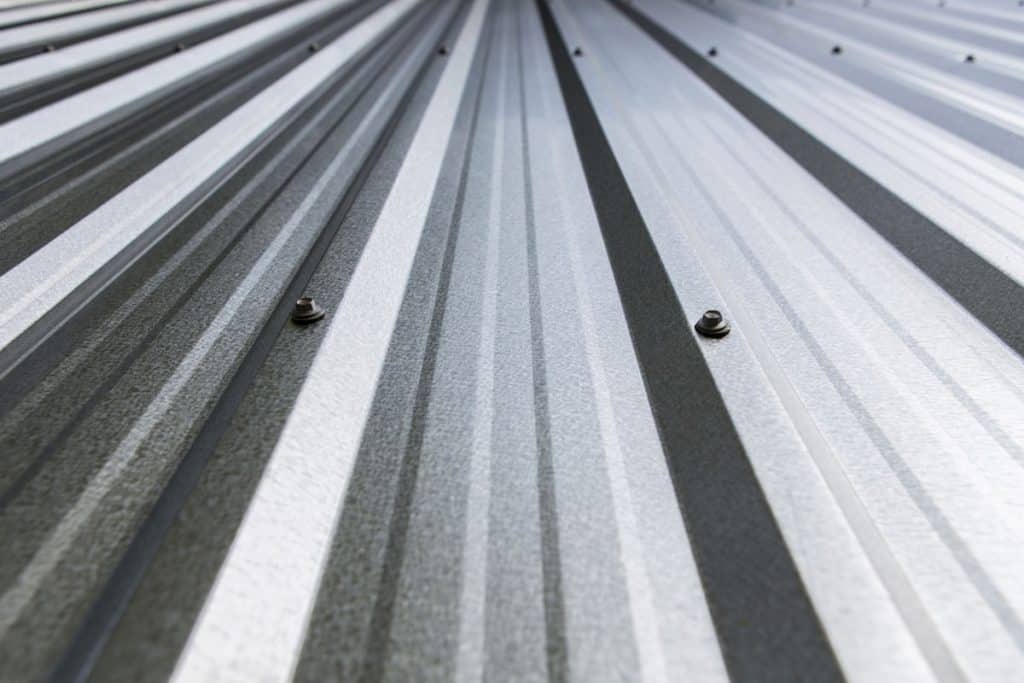
Install drywall screws every 8 inches along the surface of the panel's exterior and base. Both sides of each stud should have screws.
STEP 5: COMPLETELY FINISH THE FIRST ROW
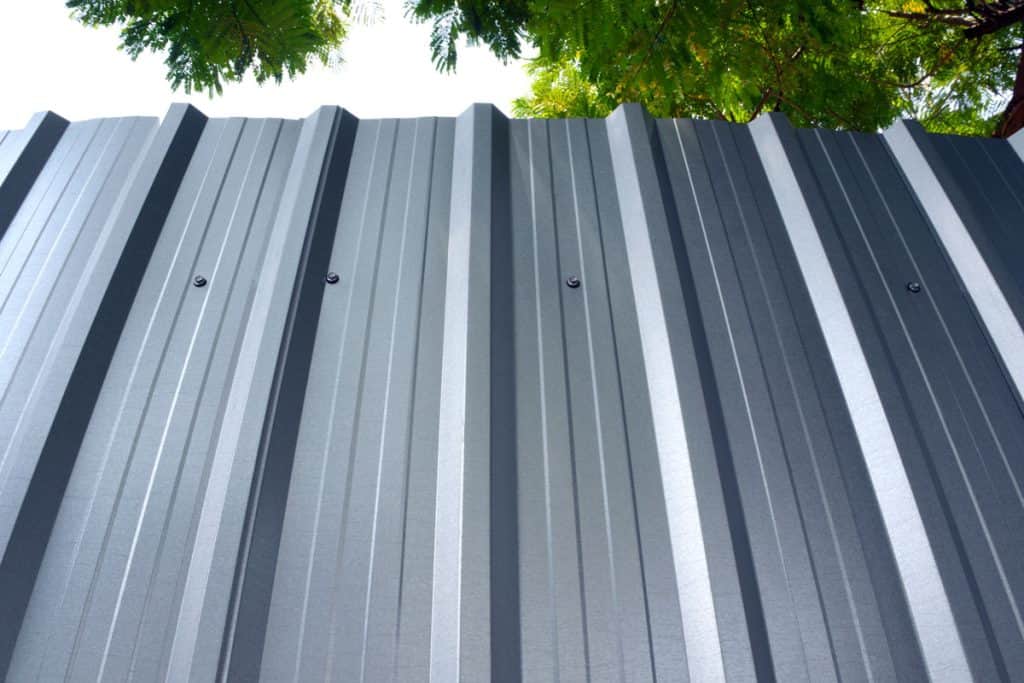
When you're ready to add another sheet of metal, at the very least one rounded corrugation should cover the existing one. The completed sheet should be attached to the other two using a screw or nail through the overlapping edge and base of each subsequent layer.
When cutting the last panel of each row carefully, you must allow for overlap. A saw or tin snips may be utilized for this purpose.
STEP 6: FINISH THE ROOF'S FIRST SIDE
Continue the next row by knitting or crocheting 1 inch above the bottom of the previous panel. The subsequent row should be 4 inches long. Repeat steps 2 and 3 to finish the first side of the roof.
STEP 7: LAY AND SECURE THE METAL PANELS ON THE OPPOSITE SIDE
Begin by cutting the peak on one side of the peaked roof. On the opposite side, you'll need to repeat this procedure yet again.
STEP 8: ATTACH THE PEAKED RIDGE CAP TO THE ROOF.
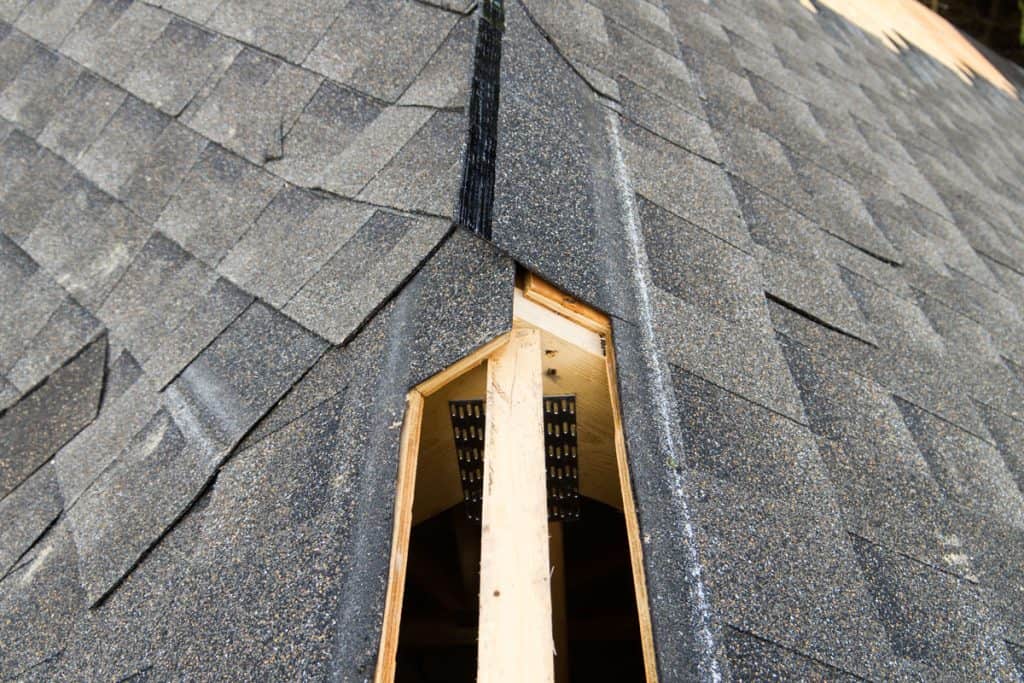
Add a matching peaked ridge cap to the top of the roof. This peak piece should be positioned on top of the roof, overlapping the metal row beneath it. As you did with the metal sheets, use washers and screws to connect them together.
STEP 9: SEAL THE ROOF SEAMS WITH A THOROUGH SEALANT.
After you've cleaned the chimney, seal any obvious seams with roofing cement or caulk. The sealer should be allowed to dry for at least 12 hours.
STEP 10: PAINT THE ROOF
To extend the life of your metal roof, you may want to paint it with a clear-coat polyurethane sealer. You may do this with a paintbrush, but many people prefer to use a paint sprayer on large roofs.
How much should corrugated sheets overlap?
The corrugated metal sheets should overlap at least 2 inches.
Which side of the sheet to install facing up?
It all depends on what you want: it's sometimes necessary to install the ridges downward, and sometimes up. If you're having trouble orienting this stuff, turn it over several times until you find the side that's most convenient.
SECURITY FOR THE CORRUGATED METAL ROOF INSTALLATION
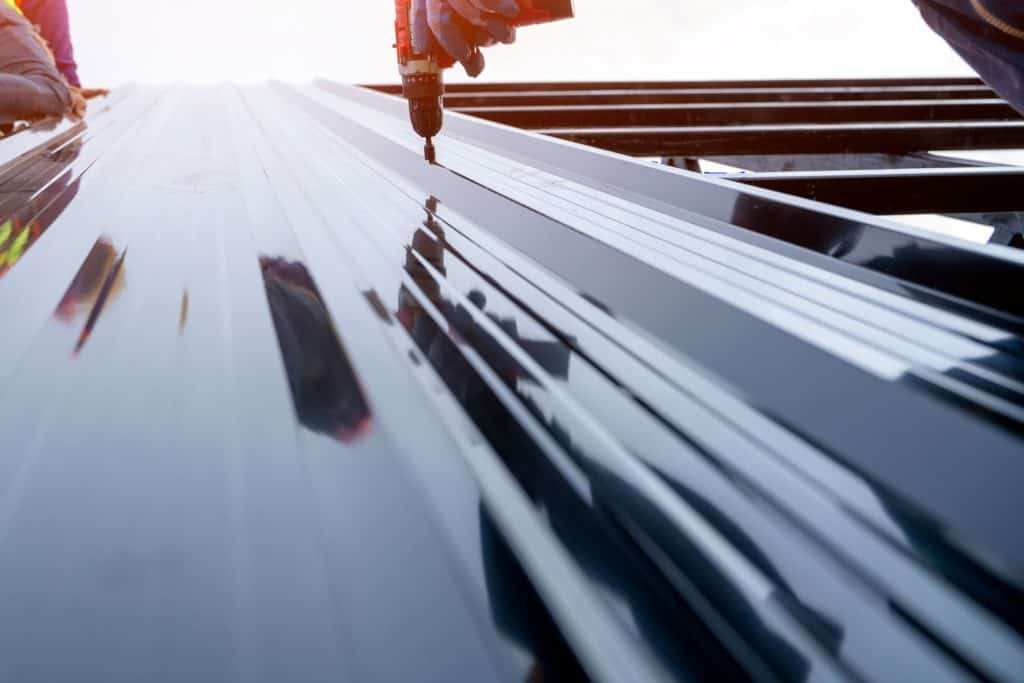
When working on this roof installation project, use thick gloves and safety goggles. Never stand on the roof straight away since it will harm the surface.
CONCLUSIONS
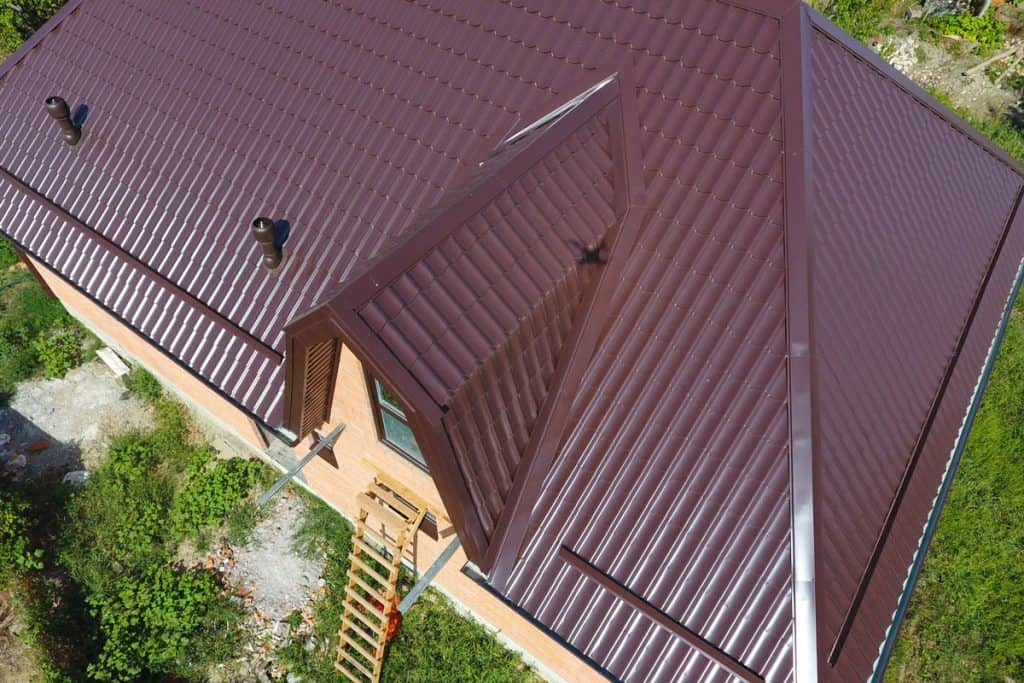
Corrugated metal roofs are a popular choice, since they provide shade, deflect the elements, and assist with stress reduction. They're also fairly inexpensive and simple to put up. Corrugated metal roofs are also highly long-lasting, with a life expectancy of decades. A corrugated metal roof is also extremely long-lasting and durable. For further information on the life of your roof, see How Long Does a Metal Roof Last?
When it comes to selecting corrugated metal roofing for your house, the most important thing to remember is that you'll need certain supplies. If you take care when installing the metal and provide plenty of overlap between each row, you can expect your new corrugated metal roof to last a long time.
