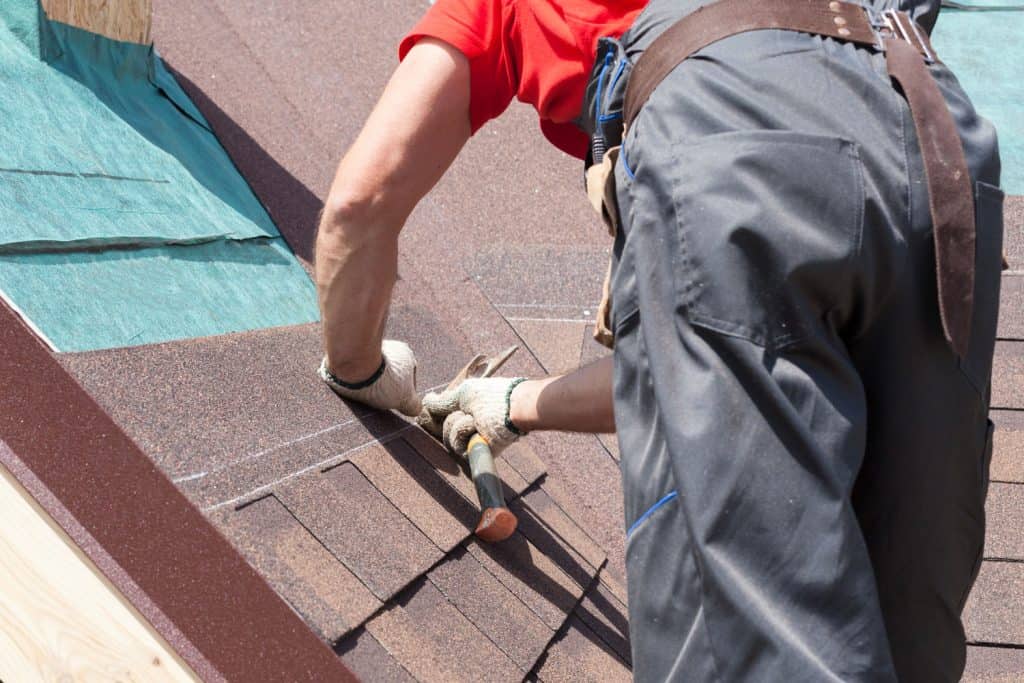
Roof shingles are an excellent, low-cost roofing product that comes in various colors and styles. Roof shingles provide a timeless and elegant look with unrivaled strength and dependability. Shingles are the DIYer's best friend because they combine timeless appeal with unassailable strength and durability. Shingles are durable and lightweight, and easy to fit, making them an excellent substitute for other, heavier materials. So, How To Fit Roof Shingles?
Although installation varies from brand to brand, the method is typically straightforward and can be completed in as little as a day, depending on the size of your project. In this article, we'll go through the preparations you should make and step-by-step instructions for one of the most popular shingles available, the Coro shingle.
Checklist for preparation
Before starting, it's essential to take some time to lay the groundwork and perform some simple tasks that will make fitting your shingles a lot easier.
Check to see whether you'll need an underlay membrane.
Roof underlayment is a flat material that is nailed to the roof deck as a buffer between timber and shingles. If your roof slope is less than 20 degrees, they must be used because water may enter. If you hear a hissing sound, it's essential to have your roof checked right away. Suppose there are any signs of mold or mildew on the interior of your home. In that case, this is especially critical since a breathable membrane will help prevent moisture from accumulating in the inner air.
Make sure you have the appropriate tools.

Most shingles come in strips or packages of strips, so measuring the size of your roof is crucial. It would help if you verified that your picked shingles are suitable for the pitch of your roof at this time. Metal and felt shingles can be used down to 10°, but this is not always the case. Some goods, like Coroshingle, will need detailing strips that must be placed over the eaves, verge, and ridge. These will come in various colors to match your shingles and provide a brilliant and tidy finish. Remember to measure the lengths again to ensure you get the correct quantity.
Take Safety Measures
Like any job with you working above ground, you should always take the necessary precautions to ensure your safety. A steady ladder or platform and the second pair of hands are required in this instance. When working on a ladder, you should never lean too far that you have to stretch; instead, reposition the ladder and make sure it is secure again before proceeding.
How To Fit Roof Shingles
Step 1: Calculating Total Roof Area
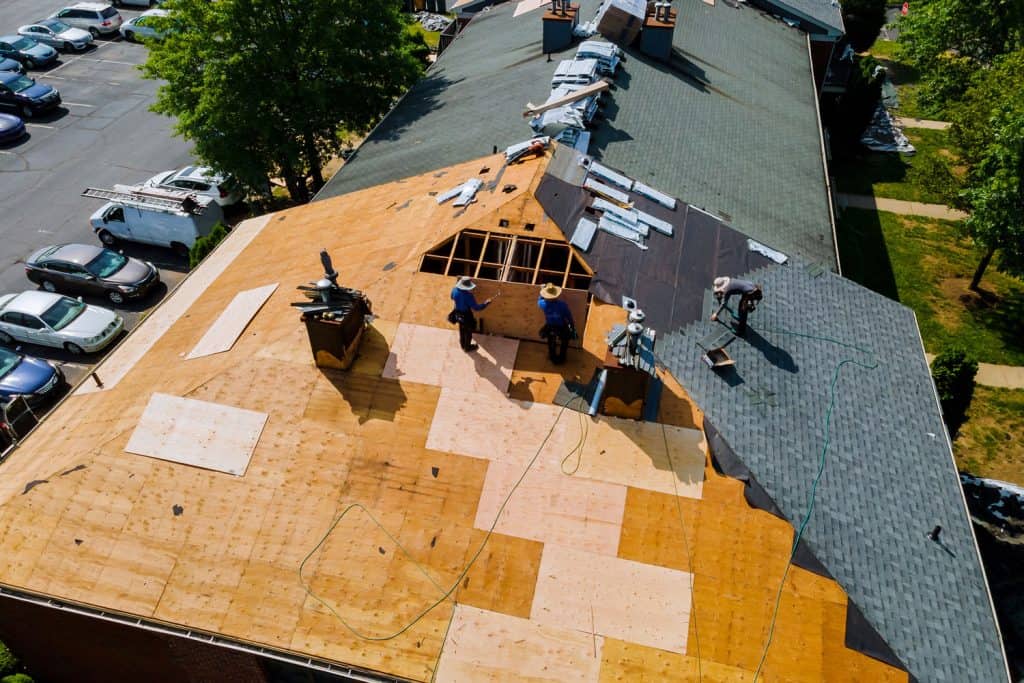
The most straightforward technique to measure the area of your roof will most likely necessitate the use of your tape measure and the assistance of a friend or family member. If you have any worries about being on a roof, this may be a job best left to the professionals. To determine the roof's total surface area, multiply the length and width of each section. This is the surface area of that section of roofing in square feet. To figure out how much surface space there is overall, add all the roof sites. Convert from square feet to squares by dividing the total you get after doing this by 100. A 10-square roof is 1,000 square feet in all.
Step 2:fit Your Roof's Flashing

The second stage in your "how to fit asphalt roof shingles" tutorial is to fit any missing roof flashing. Every one of your roof's valleys, or sections where one part of the roof meets another at a different angle, requires flashing. We'll secure the flashing in these regions with roofing nails at the outside edges and leave the center open of any nails. If you nail you're flashing too near the middle, it will leak through your roof. You must remember to apply roofing cement beneath each row of shingles near the valley when fitting the shingles around the valley flashing.
In addition, add flashing to the roof where it meets a home's wall in dormers or a multi-tiered roof and around any chimneys or skylight windows to keep them dry.
Step 3: Fitting Roof Underlayment
After you've completed the fitation:
- Prepare your roof for shingles by preparing the surface.
- fit a metal flashing, an ice and water barrier, and an underlayment to complete this step.
- Staple or nail the ice and water underlayment along the roofline's edge, ensuring that it folds down and over the roof's face edge by an inch or two.
- Screw the upper face of the drip edge down on top of the ice barrier, paying careful attention to overlap the drip edge at seams to obtain a continuous protective surface.
You can now fit the underlayment you picked once the drip edge and ice, and water barrier are in place at the bottom. It would help if you first stretched out a single roll of underlayment over your drip edge and then fastened it down with cap nails every 8 inches or so over the roof to fit the underlayment. Bring the cap nails to about 4 inches apart at the bottom edge of the underlayment on the first run, but don't nail down into the drip edge.
fit the last row of shingles, then cut and nail them in place. Continue laying down one row at a time until you've covered the roof up to just below the ridge on each side. Cover the pile with felt paper and then layer it with underlayment so that it splits in the center of the spine and drapes down to cover and overlap each side. Overtop of your underlayment, add a drip edge along the side of the roofline. You're ready to start fitting shingles now.
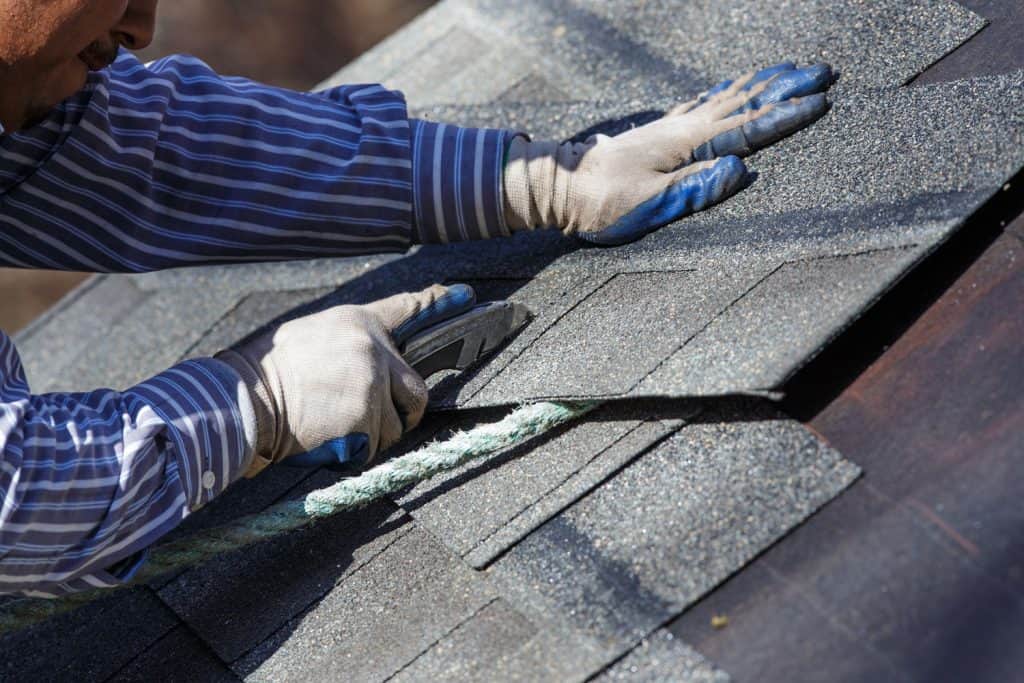
Step 4: Putting On The Roof Shingles
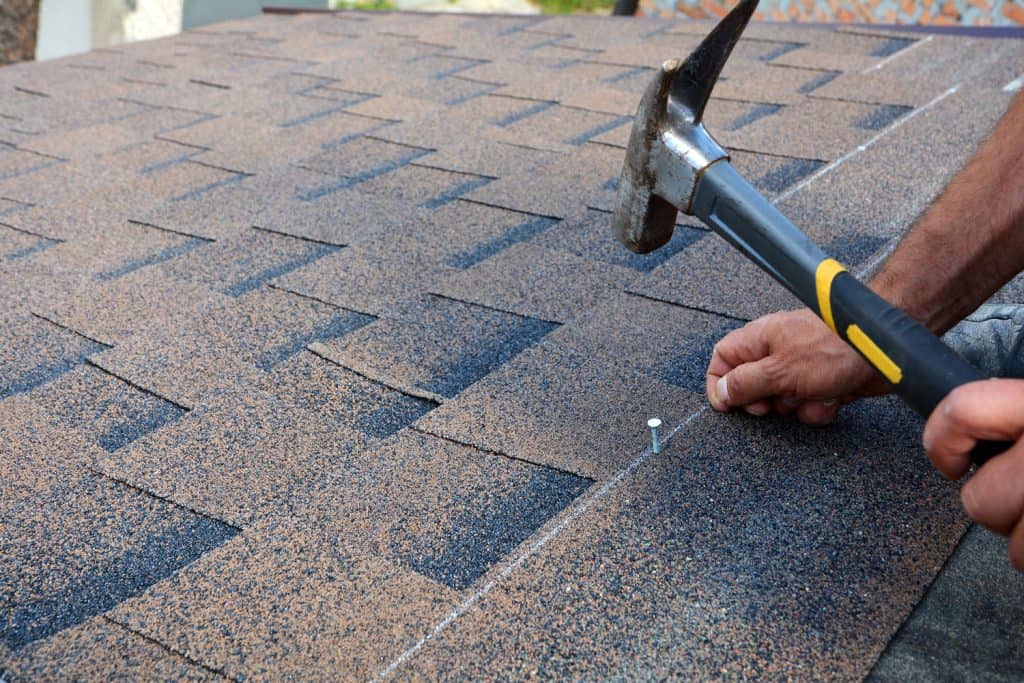
You know that you must prevent ice and water from attempting to drip back underneath your shingles as it flows down. Now that you've done all of the preparation, it's time to fit the real thing! Begin by laying a row of starter shingles along the lower edge of the roofline and nailing them in place with roofing nails. Run a set of starter shingles down both sides of the roof, ensuring they overlap the ones you laid at the bottom.
On a slope, nail the top shingle first to overhang the drip edge by about 1 inch. Place between four and six nails in each shingle beneath the tar line but above where the bottom of the following shingle will cross by about ¼".
When you are done on both sides of your roof, the ridge cap shingles are applied over the ridge's top. Begin at the left side of the spine and nail a shingle to the right side. Cover the first nail with the next cap shingle and repeat with additional caps on each remaining side. Continue this down to the end of the roof. To help prevent water from entering, seal the nail that holds the last cap shingle with a little bit of roofing tar.
When putting your shingles, make sure to wear protective rubber boots that are fastened with flashing around all of the vents and pipes. On roofs that are higher than 5 feet, you should fit flashing on top of the shingles and below the shingles. The lower flashing goes on top, with the upper flashing below. The flashing should run underneath the shingles and be nailed on both sides. Water may flow down the shingles and run over the flashing, keeping going without entering your home, thanks to this design. Accurately following these procedures will guarantee that you have a firm grasp on how to fit roof shingles.